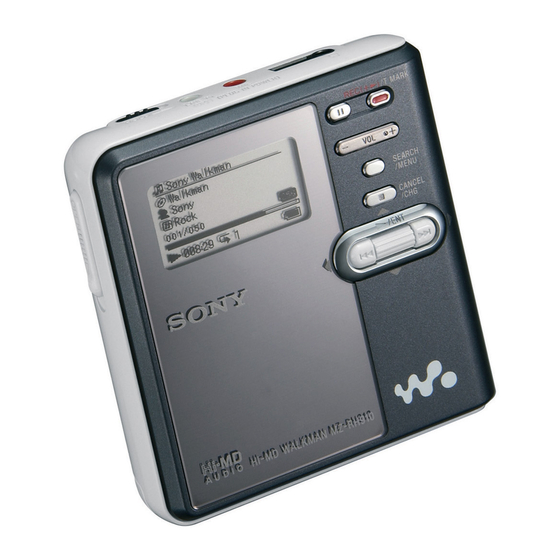
Sony MZ-M10 Panduan Petunjuk Pengoperasian - Halaman 4
Jelajahi secara online atau unduh pdf Panduan Petunjuk Pengoperasian untuk Sistem stereo Sony MZ-M10. Sony MZ-M10 6 halaman. Hi-md portable digital recorders
Juga untuk Sony MZ-M10: Petunjuk Pengoperasian (2 halaman), Garansi Terbatas (1 halaman), Petunjuk Pengoperasian (2 halaman), Brosur & Spesifikasi (4 halaman)

Downloading audio data from your computer to the Hi-MD
Walkman
®
You can download MP3- and (depending on your Hi-MD Walkman
audio data from your computer to your Hi-MD Walkman
models that work with Hi-MD Music Transfer for Mac Ver. 2.0" on page 1.)
Make sure the disc in the Hi-MD Walkman
1
On the computer, select the audio file or a folder that you want to
download.
2
Drag it to the main window.
The progress indicator window appears and downloading starts.
Tracks or groups that are downloaded are saved at the end of the disc.
Downloaded folders are treated as groups on the Hi-MD Walkman
Example: When downloading the "Sound" folder from the computer to a Hi-MD Walkman
Macintosh
Download
When downloading WAV-format files
After downloading a WAV-format file, make sure to open and close the lid of the Hi-
MD Walkman
or disconnect the USB cable (in accordance with the procedure in "To
®
disconnect the USB cable or remove the disc from the Hi-MD Walkman
the files will not be able to play on other devices.
Notes
• Audio data downloaded from a Macintosh computer to a Hi-MD Walkman
Transfer cannot be re-imported to the same Macintosh computer. For this reason, you should make
double check the contents of the original files before deleting them on the computer.
• Audio data cannot be downloaded if the disc in the Hi-MD Walkman
• Audio data that exceeds 2,047 tracks or 255 groups cannot be downloaded.
• Make sure not to delete the original file on the Macintosh computer while the progress indicator
window is displayed.
• All types of MP3 audio data can be downloaded to the Hi-MD Walkman
MP3 audio data that can be played on the Hi-MD Walkman
operating instructions supplied with your Hi-MD Walkman
supported.
®
model) WAV-format
. (See "Hi-MD Walkman
®
®
is not record-protected.
.
®
Hi-MD Walkman
®
• If there are folders nested within the
downloaded folder, each folder is
treated as a single group on the Hi-
MD Walkman
.
®
• Hi-MD Music Transfer ignores files
other than MP3- or WAV-format files
(e.g., "Data3.txt").
®
"). If you do not,
®
using Hi-MD Music
is record-protected.
®
®
. However, the types of
depends on the model. Refer to the
®
for details concerning the types that are
®
To disconnect the USB cable or remove the disc from the Hi-MD Walkman
It is important that you follow the steps below when disconnecting the Hi-MD Walkman
from the computer or removing the disc. If you do not, damage to the data may occur.
When Hi-MD Music Transfer is active, start the procedure from step 2.
®
1
Drag the
2
Make sure that the operation lamp on the Hi-MD Walkman
rapidly or the "REC" indication is not displayed in the display window of the
Hi-MD Walkman
3
Press • CANCEL on the Hi-MD Walkman
Make sure that the operation lamp on the Hi-MD Walkman
"EJECT DISC OK" appears in the display window of the Hi-MD Walkman
the conditions, it may take some time until "EJECT DISC OK" appears in the display.
4
Unplug the USB cable from the computer or remove the disc from the Hi-MD
®
Walkman
Other operations
Changing a track or group title
To change a track or group title that appears in the main window, first select it by double-
clicking on the title, and then type in the new title on the computer keyboard.
Changing the order of tracks or groups
To change the order of a track or group in the main window, first select the track or group,
and then drag it to the desired location.
Notes
• Only one track or group can be moved per operation. You cannot move multiple tracks or groups at
one time.
• You cannot move a group into another group.
• If the disc contains groups with no tracks, those groups are displayed at the end of the main window.
For this reason, even if you move a track or a group to the end of the disc, empty groups will still
appear last.
Erasing tracks or groups
Select the track or group you want to erase, and then click [Delete] in the main window
or press the [Delete] (or the [Del]) key on the computer keyboard. You can select multiple
tracks and groups also and delete them at the same time.
Notes
• Note that once a track or a group has been erased, it cannot be recovered. Make sure to confirm the
contents of the selected track or group before erasing it.
• If you erase a track that has been transferred from a Windows computer using the SonicStage
software, the transfer authorization for that track is restored automatically when you insert the disc
into the Hi-MD Walkman
([NO NAME] icon) on the desktop to the trash can.
.
®
.
®
.
®
and then connect it to the Windows computer.
®
®
®
®
is not flashing
is off.
®
®
. Depending on
4
