Cisco ASA 5516-X Panduan Memulai Cepat - Halaman 4

Jelajahi secara online atau unduh pdf Panduan Memulai Cepat untuk Perangkat Keras Jaringan Cisco ASA 5516-X. Cisco ASA 5516-X 9 halaman. Threat defense reimage guide
Juga untuk Cisco ASA 5516-X: Panduan Pemasangan Perangkat Keras (32 halaman), Panduan Memulai Cepat (8 halaman), Panduan Penyiapan yang Mudah (11 halaman), Manual Perangkat Lunak (37 halaman), Pasang dan Hubungkan (6 halaman), Manual (14 halaman)
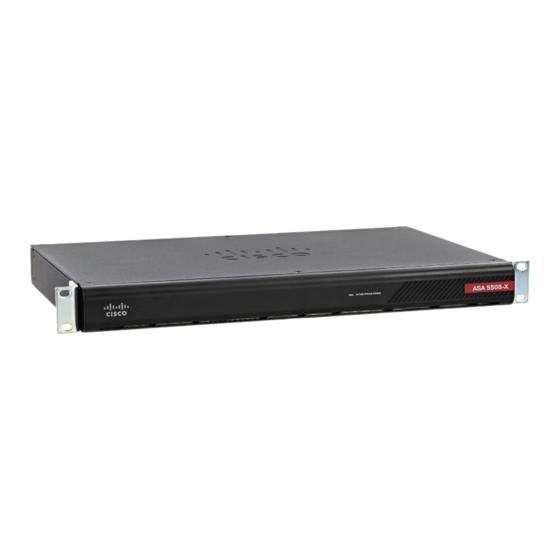
Cisco ASA 5516-X Panduan Memulai Cepat
Cisco Firepower Threat Defense for the ASA 5508-X and ASA 5516-X Using Firepower Management Center Quick Start Guide
Procedure
Internet
1.
Cable the following to a Layer 2 Ethernet switch:
GigabitEthernet 1/2 interface (inside)
Management 1/1 interface (for the Firepower Management Center)
A local management computer
Note:
You can connect inside and management on the same network because the management interface acts
like a separate device that belongs only to Firepower Management.
2.
Connect the GigabitEthernet 1/1 (outside) interface to your ISP/WAN modem or other outside device. By
default, the IP address is obtained using DHCP, but you can set a static address during initial configuration.

5. Power on the Firepower Threat Defense Device

Procedure
1.
Attach the power cable to the Firepower Threat Defense device and connect it to an electrical outlet.
2.
Press the Power button on the back of the Firepower Threat Defense device.
3.
Check the Power LED on the front of the Firepower Threat Defense device; if it is solid green, the device is
powered on.
4.
Check the Status LED on the front of the Firepower Threat Defense device; after it is solid green, the system
has passed power-on diagnostics.
GigabitEthernet 1/1
outside, DHCP from Modem
1
2
3
GigabitEthernet 1/2
inside, 192.168.45.1
(Management Gateway)
WAN Modem
5. Power on the Firepower Threat Defense Device
Management 1/1
Default is 192.168.45.45
s
4
5
6
7
8
Layer 2 Switch
4
L
CONSOLE
Management Computer
192.168.45.2
Firepower
Management Center
192.168.45.44