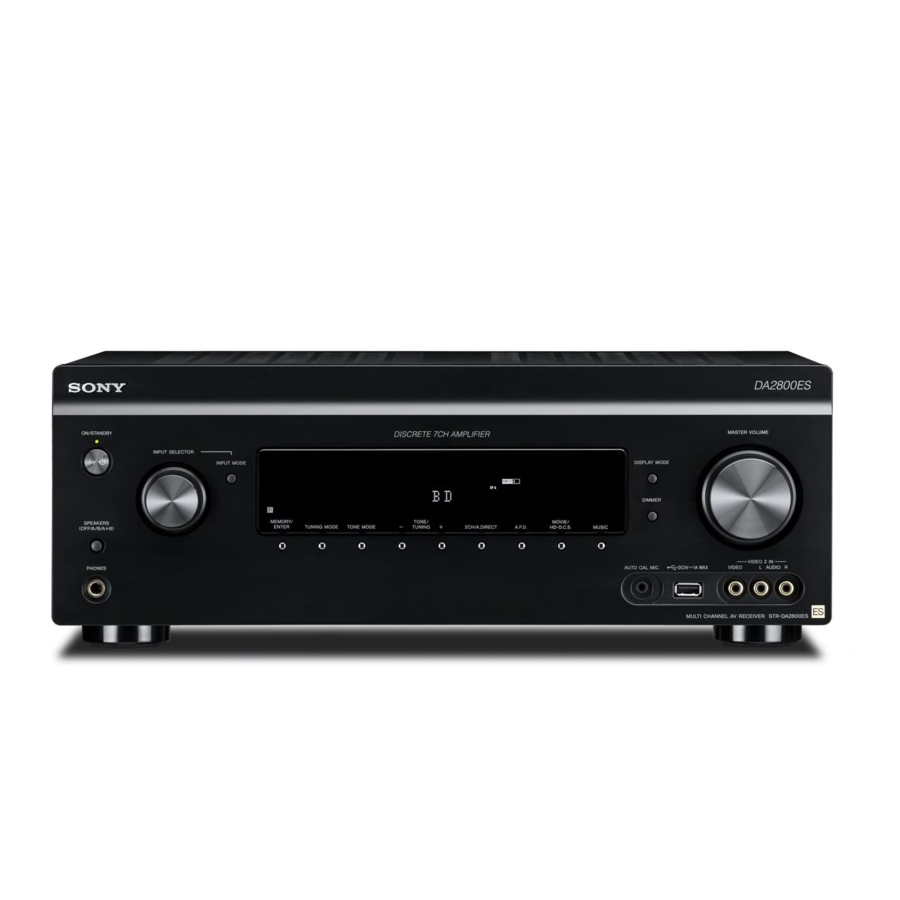
Sony STR-DA5800ES Panduan Aktivasi - Halaman 4
Jelajahi secara online atau unduh pdf Panduan Aktivasi untuk Sistem stereo Sony STR-DA5800ES. Sony STR-DA5800ES 7 halaman. Control4 automation
Juga untuk Sony STR-DA5800ES: Garansi Terbatas (1 halaman), Panduan Pengaturan Cepat (2 halaman), Panduan Pengaturan Cepat (2 halaman)

Select the Language/Accept the EULA
1
Power on the receiver.
2
Upon power-up, the Sony STR receiver is in
the Sony environment, which displays a Sony
interface on the TV (Easy Setup Wizard) to set
up a Sony one-room home theater.
3
Use the Sony remote control to perform the
following steps:
a
The Sony 'Language' screen appears on the
TV screen. If it doesn't appear after a few
seconds, press the Home button on the Sony
remote. Select the appropriate language for
the locale, for example, English.
b
The 'Sony End User Agreement' screen
appears. Select Next and read through the
agreement using the left- and right-arrow
buttons on the Sony remote. Accept the
agreement by selecting Accept & Next.
c
Once the Easy Setup wizard starts,
immediately select Finish to skip the Easy
Setup wizard. This will take you to the Sony
Home screen where you can manually
configure settings.
NOTES:
(1) Primary Controller only: The controller
only updates devices to its own version, for
example OS 2.2.4.
(2) Firmware updates for the receiver originate
from Sony's network update server, only
available through the Sony UI, so update the
receiver's software prior to activating full
Control4 Automation.
d
In the Sony UI, select Sony Settings >
Settings, and then select Network Update.
e
Select Yes.
NOTES:
(1) To perform the network update, make
sure the CAT5 Ethernet cable is connected
to the Internet. The network update may take
up to 15 minutes. If the user interface does
not appear after 15 minutes, press the HOME
button on the Sony remote control.
(2) When the receiver is used as a Primary
or Secondary Controller, network updates
are managed using Composer Pro (receiver
Properties page; not Update Manager). See
the Composer Pro User Guide for details.
4
IMPORTANT!
For the system to properly
function within a Control4 project, set
"Network Standby" to On. To toggle this
setting, go to the following UI page: Home
> Settings > Network Settings > Network
Standby.
4
Go to "Activate the Primary Controller" or
"Activate the Secondary Controller," depending
on the controller type you want to activate.
Activate the Primary Controller
The Control4 On-Screen Navigator does not display
until you register the controller to a my.control4.com
account that has a valid Control4 Activation License.
To register the receiver:
1
Use Home Control Settings to set up the
Control4 system registration and other settings
outlined in the table below.
Setting
Used for Control4
Automation?
Network Settings
Yes, but the default DHCP
setting is recommended.
Network Standby Yes, set to
On.
Input Settings
No (use for Sony only).
Home Control
Yes. Use to register the
Settings
controller.
Lighting Settings
No (use for out-of-the-box
automation only).
Speaker Settings
Yes, if desired (recommended
for best audio performance).
2
Select Start in Easy Setup. Bypass Easy Setup for
now by selecting Finish.
3
Go to Home > Settings > Home Control Settings
and select Registration.
4
On the Registration page, select OK.
a
On the second Registration page you'll need
to enter the customer's 10-digit registration
code (see "Prerequisites") copied from the
customer's my.control4.com account that
includes a Control4 Activation License.
NOTE: When registering, do not enter the
16-digit Control4 Activation License code.
