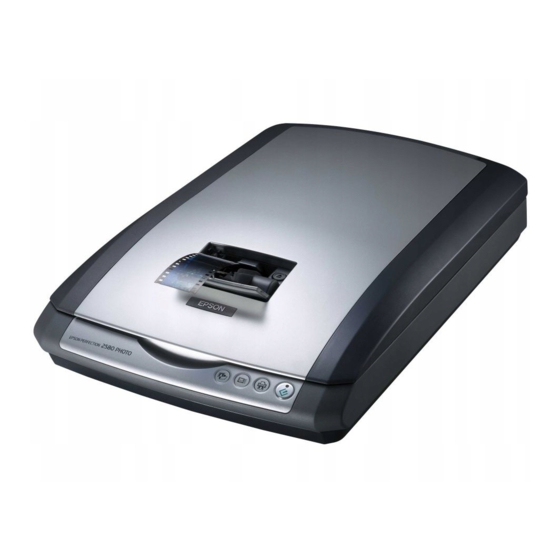
Epson Perfection 2580 Photo Panduan Memulai Cepat - Halaman 3
Jelajahi secara online atau unduh pdf Panduan Memulai Cepat untuk Pemindai Epson Perfection 2580 Photo. Epson Perfection 2580 Photo 8 halaman. Epson perfection 2580: product information
Juga untuk Epson Perfection 2580 Photo: Buletin Dukungan Produk (1 halaman), Panduan Pengguna (6 halaman)

6
Connect the scanner's power cord as shown below.
The scanner turns on and the ] Start light flashes green. It stops flashing
and stays on green when the scanner is ready.
Caution: When you unplug the scanner, wait at least 10 seconds before
plugging it back in. Rapidly unplugging and plugging in the scanner can
damage it.
7
Remove and store your scanner software CD-ROM.
8
Restart your computer.
Scanner Basics
Your First Scan
The ] Start button on your scanner automatically opens Epson Smart Panel,
making it easy for you to scan your images for many different uses. Here's how
to use the ] Start button to scan photos and save them as files.
1
Raise the scanner cover and place your photo
face down on the glass. Make sure the top of
the document is against the front edge of
the scanner glass.
2
Close the scanner cover.
3
Press the ] Start button on your scanner.
Note: In Windows, if you see a message when you press the ] Start button,
select EPSON Smart Panel, click Always use this program for this
action, then click OK.
Epson Smart Panel opens on your computer.
4
Click the
2
Scan and Save button.
3
1
