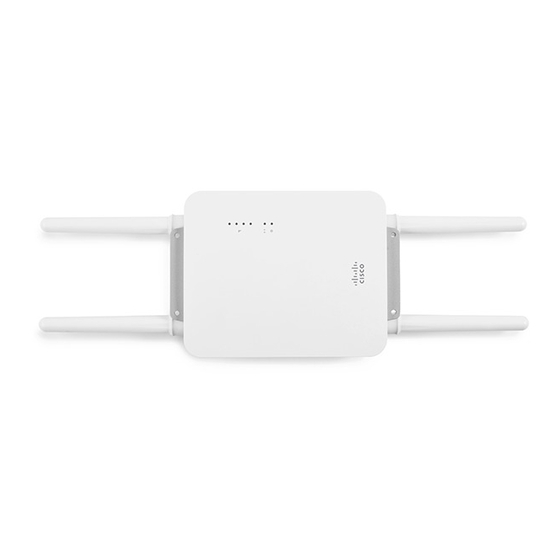
Cisco MERAKI MR66 Panduan Instalasi - Halaman 10
Jelajahi secara online atau unduh pdf Panduan Instalasi untuk Gerbang Cisco MERAKI MR66. Cisco MERAKI MR66 20 halaman. Troubleshooting mesh communication between access points
Juga untuk Cisco MERAKI MR66: Manual (7 halaman)

- 1. Package Contents
- 2. Understanding the MR66
- 3. Antennas and Ports
- 4. Pre-Install Preparation
- 5. Power Source Options
- 6. Factory Reset Button
- 7. Led Indicators and Run Dark Mode
- 8. Check and Upgrade Firmware
- 9. Collect Tools
- 10. Collect Additional Hardware for Installation
- 11. Installation Instructions
- 12. Choose Your Mounting Location
- 13. Verify Device Functionality and Test Network Coverage
- 14. Troubleshooting
- 15. Regulatory Information for MR66
Attach the mount cradle
The MR66 mount plate can be used to install your access point in a wide range of scenarios.
Wall or Solid Ceiling Mount Using mount cradle
Using included wall anchors and screws, attach the mount plate to your mounting wall or ceiling.
It is recommended that the MR66 be mounted to a wall or solid ceiling using the mount plate for physical security
reasons.
Pole Mount Using Mount Plate
Use the included mounting straps to mount the AP to a pole less than 3.9" in diameter. Thread the mounting straps
through the mounting strap slots to secure the mount plate in a horizontal or vertical orientation.
10
