Epson 7800 - Stylus Pro Color Inkjet Printer Manual Pembongkaran dan Pengaturan - Halaman 26

Jelajahi secara online atau unduh pdf Manual Pembongkaran dan Pengaturan untuk Aksesori Printer Epson 7800 - Stylus Pro Color Inkjet Printer. Epson 7800 - Stylus Pro Color Inkjet Printer 27 halaman. Stylus pro 800 series
Juga untuk Epson 7800 - Stylus Pro Color Inkjet Printer: Brosur & Spesifikasi (8 halaman), Spesifikasi (4 halaman), Panduan Memulai (10 halaman), Panduan Pengguna (11 halaman), Panduan Referensi Cepat (12 halaman), Panduan Tambahan (1 halaman), Garansi Terbatas (12 halaman), Brosur & Spesifikasi (8 halaman), Buletin Dukungan Produk (10 halaman), Brosur & Spesifikasi (16 halaman), Lembar Pemberitahuan (4 halaman)
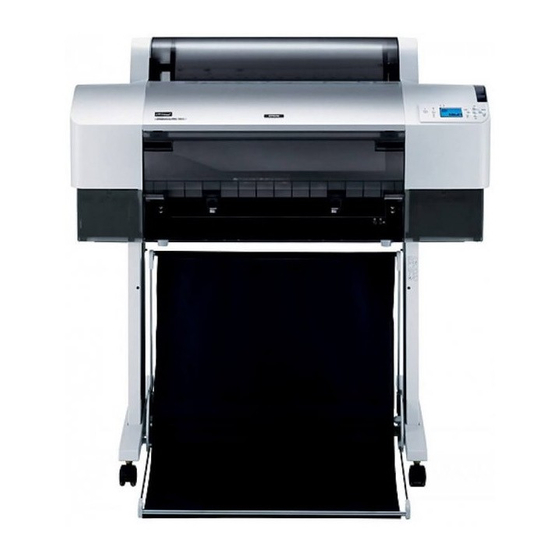
Epson 7800 - Stylus Pro Color Inkjet Printer Manual Pembongkaran dan Pengaturan

Installing the Printer Software

After connecting the printer to your computer,
you need to install the software included on the
Printer Software CD-ROM shipped with your
printer. To install your printer software, follow the
steps below.
For Windows
c
Caution:
Turn off all virus protection programs before
you install your printer software.
1. Make sure your printer is turned off.
2. Insert the Printer Software CD-ROM shipped
with your printer in the CD-ROM drive.
Note:
If the language selection window appears, select
your preferred language.
3. Click Continue.
4. Select your printer.
5. Click Install to start the printer software
installation.
Note:
Select your country or area of residence if the
selection window appears.
6. Follow the on-screen instruction.
Note:
If a message regarding Windows logo test appears
during the installation, click Continue to continue the
installation.
For Mac OS 9.x
c
Caution:
Turn off all virus protection programs before
you install your printer software.
1. Make sure the printer is off.
2. Insert the Printer Software CD-ROM shipped
with your printer in the CD-ROM drive.
26
3. Double-click the Mac OS 9 icon.
Note:
If the language selection window appears, select
your preferred language.
4. Click Continue.
5. Select your printer.
6. Click Install to start the printer software
installation.
7. Follow the on-screen instructions.
After installing the software and restarting the
computer, turn on the printer.
Using the Chooser to select your printer
After you have installed the printer software on
your computer, you need to open Chooser and
select your printer. You must select a printer the
first time you use it or whenever you want to
switch to another printer. Your computer will
always print using the last printer selected.
1. Select Chooser from the Apple menu. Then,
click your printer's icon and the port your
printer is connected to.
2. For USB interface users, click your printer's
icon and the port your printer is connected to.
For IEEE 1394 interface users, click your
printer's icon and the FireWire port your
printer is connected to.
3. Select the appropriate Background Printing
radio button to turn background printing on
or off.
With background printing on, you can use
your Macintosh while it is preparing a
document for printing. In order to use the
EPSON Monitor IV utility to manage print
jobs, background printing must be turned on.
4. Close the Chooser.