TomTom LINK 201 Panduan Pengguna - Halaman 7
Jelajahi secara online atau unduh pdf Panduan Pengguna untuk GPS TomTom LINK 201. TomTom LINK 201 12 halaman.
Juga untuk TomTom LINK 201: Panduan Pengguna (16 halaman)
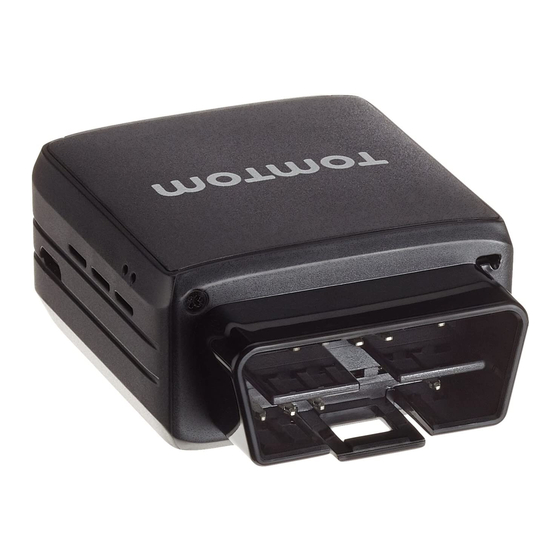
Connecting the LINK 201
Important: To connect or disconnect the LINK 201, the vehicle ignition must be off.
To connect your LINK 201 to the vehicle and calibrate it do the following.
1. Make sure the ignition of the vehicle is turned off.
2. Find the OBD-II port in your vehicle.
Refer to the manual of your vehicle. In many vehicles you can find the OBD-II port in the
footwell (A), close to the fuse box (B), beneath the dashboard (C), or in the centre console (D).
3. Insert the LINK 201 into the OBD-II port.
If the space surrounding the OBD-II port in your vehicle does not allow the LINK 201 to be
inserted, you can use the OBD-II extension cable from TomTom Telematics. If you use the
OBD-II extension cable, make sure you have firmly fixed it so it cannot drop off. Make sure
the cable does not interfere with the driver's actions.
The bi-colour LED of your LINK 201 is permanent red to show the device is properly connect-
ed to the vehicle.
For some vehicle models, the LINK 201 requires calibration and we recommend to always
follow the instructions provided below.
4. Wait until the LED of your LINK 201 shows that the device has GPS reception.
5. Switch on the ignition and drive with minimum 20 km/h for at least five minutes.
The LINK 201 registers the voltage differences and calibrates to detect ignition on events.
6. Stop driving and turn off the ignition.
7. Wait for minimum five minutes.
The LINK 201 registers the voltage differences and calibrates to detect ignition off events.
If you have disconnected and connected the LINK 201 to the OBD-II port of the same vehicle there
is no need to calibrate it again.
7