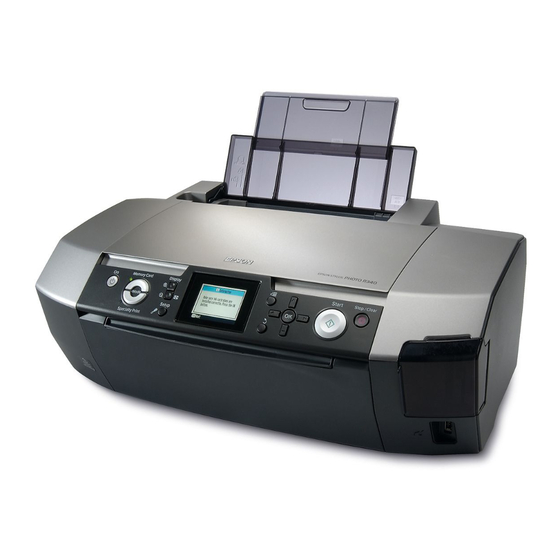
Epson R340 - Stylus Photo Color Inkjet Printer Panduan Pengoperasian Dasar - Halaman 9
Jelajahi secara online atau unduh pdf Panduan Pengoperasian Dasar untuk Aksesori Printer Epson R340 - Stylus Photo Color Inkjet Printer. Epson R340 - Stylus Photo Color Inkjet Printer 40 halaman. C11c607011
Juga untuk Epson R340 - Stylus Photo Color Inkjet Printer: Spesifikasi (2 halaman), Manual (13 halaman), Mulai dari Sini Manual (9 halaman), Referensi Cepat (4 halaman), Panduan Instruksional (4 halaman)

Accessing Images to Print
Inserting a Memory Card
Precautions:
❏ Insert a memory card so that the top of the card faces the right
side, as shown in the illustration.
❏ Loading a memory card in ways other than those shown here
may damage the printer, memory card, or both.
❏ Use only one type of memory card at a time. Eject the loaded
memory card before inserting another kind of memory card.
❏ Close the memory card slot cover when the memory card is in
operation to protect the memory card from static electricity. If you
touch the memory card when it is inserted in the printer, it may
cause the printer to malfunction.
❏ Before loading the Memory Stick Duo, Memory Stick PRO Duo,
miniSD card, and MagicGate Memory Stick Duo, attach the
adapter provided with it.
Inserting a Memory Card
1.
Press the P On button to turn on your printer.
2.
Open the memory card slot cover.
3.
Insert the memory card as far as it can go into the
appropriate slot as shown below. When it is in, the
card light comes on.
CompactFlash/
Microdrive
Memory Stick/
Memory Stick PRO/
Memory Stick Duo*/
Memory Stick PRO Duo*/
MagicGate Memory Stick/
MagicGate Memory Stick Duo*/
SD Card/
miniSD card*/
MultiMediaCard
xD-Picture Card/
xD-Picture Card Type M/
SmartMedia
*Requires an adapter.
memory card light
4.
Close the memory card slot cover.
After a moment, the printer reads and counts the
number of images on your card. When it's done,
your images are available for printing (see
page 11).
Removing a memory card
Make sure the card light is not flashing, then pull the
card straight out of the slot.
c
Caution:
Do not remove a card while the card light is flashing; you may lose
images on your card.
Connecting an External
Device
You can connect external devices to the printer, such
as an MO drive, CD-R drive, or USB flash drive, with
a USB cable.
For details on printing with a Bluetooth Photo Print
Adapter, see the on-screen User's Guide.
Note:
Not all devices that can be connected with a USB cable are
supported. Contact your regional Customer Support for details.
Connecting
1.
Remove any memory cards from the printer.
Note:
If you leave a card in the printer, images will be read from the
card instead of your camera or storage drive.
2.
Connect the USB cable from your storage device
to the EXT I/F USB port on the front of the printer.
Accessing Images to Print
9
