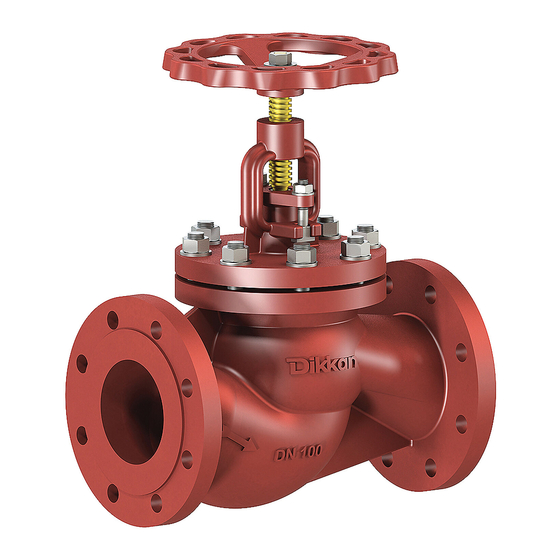
Dikkan DN150 Panduan Petunjuk Pengoperasian - Halaman 11
Jelajahi secara online atau unduh pdf Panduan Petunjuk Pengoperasian untuk Unit Kontrol Dikkan DN150. Dikkan DN150 17 halaman.

Cut packing by using a spare stem, a mandrel with the same diameter as the stem (Fig.2). Hold the packing tightly on
the mandrel, but do not stretch excessively. Always cut the packing into individual rings. Rings should be cut with a butt
joint (Fig.3). Cut the ring (Fig.4). Install one ring at a time. Seat each ring firmly; making sure it is fully seated before the
next ring is installed.
Do not use a pointed tool to push the rings into position. When inserting the packing rings, the butt joints offset 180°
from each other (Fig.5). When enough rings have been individually seated so that the nose of the gland will reach them,
individual tamping of the rings should be supplemented by the gland. Bring down the gland and tighten nuts balanced
(P.No15), sufficiently while allowing the stem to operate smoothly.
Fig.2
8.2 Replace the Gasket
Depressurize the system and remove the valve from pipe line before bonnet disassembly.
Disassembly the valve will become out of warranty. Please consult Dikkan before disassembling if the
valve is under warranty.
▪
Bonnet Disassembly
a) Operate the valve until it becomes full open position.
b) Remove bonnet bolts (P.No17) by using crossover method.
c) Lift up the bonnet assembly, taking care not to damage the disc.
▪
Gasket Replacement
a) Discard the old gasket. (P.No4)
b) Inspect the gasket seating surface of the body for wear, damage or deterioration.
c) Polish gasket seating surface with sandpaper to clean rust, dirt and remnant of gasket.
d) Clean the surface to remove all polishing residue.
e) Install a new gasket.
Doc. No: FRM.65
Rev. No: 00 Rev. Date: 01.06.2015
Fig.3
Fig.4
Fig.5
9
