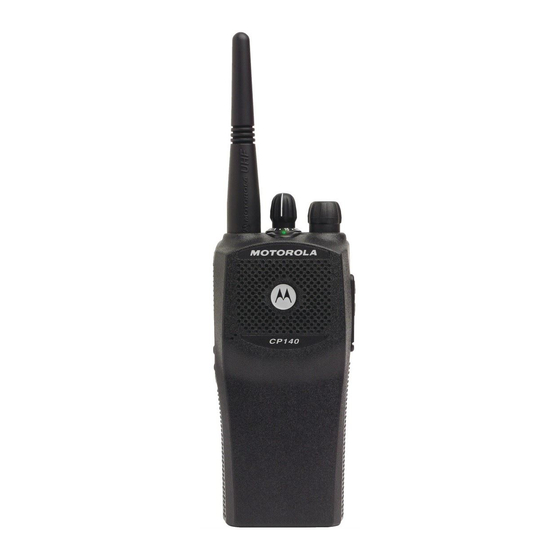
RADIO OVERVIEW
This user guide covers the operation of the CP160
Portable Radios.
Before using this product, read the
operating instructions for safe usage
!
contained in the Product Safety and
RF Exposure booklet 6864117B25_
enclosed with your radio.
C a u t i o n
ATTENTION!
This radio is restricted to occupational use only to
satisfy ICNIRP RF energy exposure requirements.
Before using this product, read the RF energy
awareness information and operating instructions in
the Product Safety and RF Exposure booklet
(Motorola Publication part number 6864117B25_) to
ensure compliance with RF energy exposure limits.
OPERATION AND CONTROL FUNCTIONS
Radio Controls
The numbers below refer to the illustrations on the
inside front cover.
1.
Push-to-talk (PTT)
Press and hold down this button to talk;
release it to listen.
2.
On-Off / Volume Knob
Used to turn the radio on or off, and to adjust
the radio's volume.
3. Channel Selector Knob
Used to switch the radio to different channels.
4. LED Indicators
Indicate radio status:
Green: Solid during power up routine; off after
successful power up; flashing when scanning.
Red: Solid - transmitting; Flashing when
transmitting - low battery:
Flashing - channel is busy receiving.
Yellow: Solid when radio is in monitor mode,or
is sending a selective call or call alert;
Flashing - receiving a selective call or call alert.
5. Microphone/Speaker
Hold the microphone 2.5 to 5 cm (1-2 inches)
from your mouth, and speak clearly into it.
6. LCD Display
An 8 character single line display with up to 9
radio status icons.
J J J J
7. Front Button P2
8. Menu Scroll Buttons L M
K K K K
9. Front Button P1
10. Side Button 2
11. Side Button 1
12. Accessory Connector
Connects remote microphones, remote
earphones and other accessories. Replace dust
cap when not in use.
13. Belt Clip
English
3

