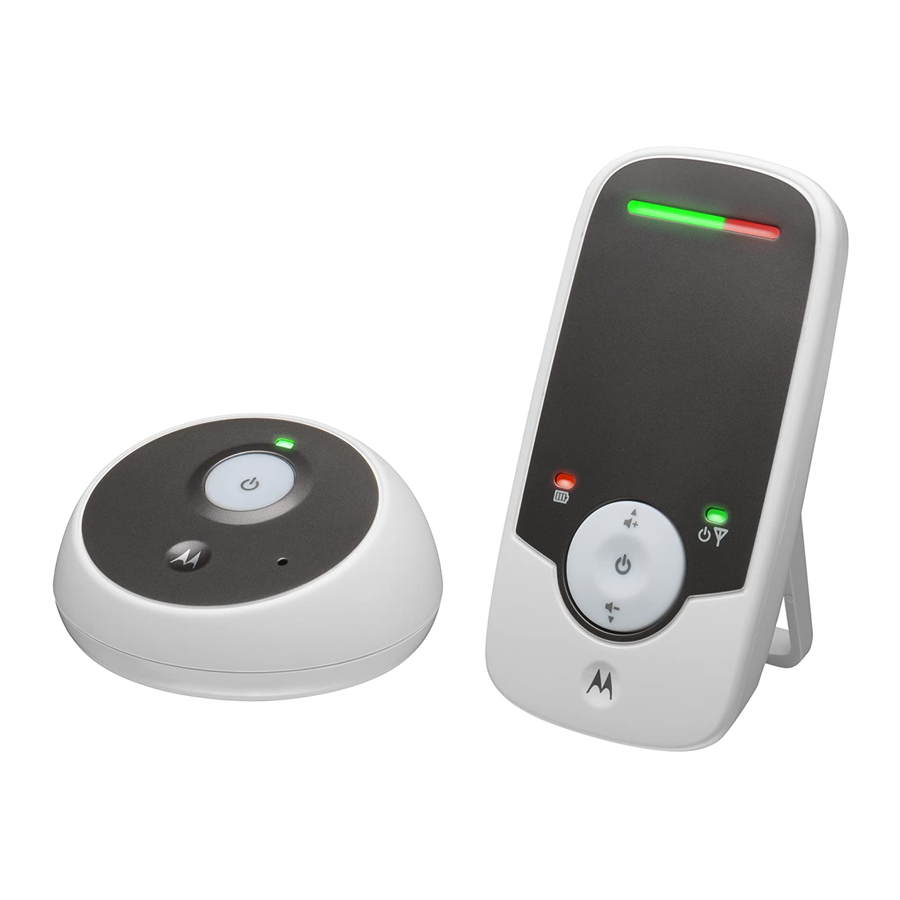
Motorola MBP160-2 Panduan Pengguna - Halaman 7
Jelajahi secara online atau unduh pdf Panduan Pengguna untuk Monitor Bayi Motorola MBP160-2. Motorola MBP160-2 23 halaman. Digital audio baby monitor
Juga untuk Motorola MBP160-2: Panduan Memulai Cepat (2 halaman), Panduan Memulai Cepat (2 halaman), Panduan Pengguna (23 halaman), Panduan Memulai Cepat (15 halaman)

BABY MONITOR SET UP & USE:
• Determine a location for the digital audio baby monitor that will
provide the best audio reception of your baby in his/her crib.
• Place the Baby Unit on a flat surface, such as a dresser, bureau or
shelf, or mount the Unit on a wall securely using the keyhole slots
under the stand.
• NEVER place the Baby Unit or cords within the crib.
WARNING
This Digital Audio Baby Monitor is compliant with all relevant standards
regarding electromagnetic fields and is, when handled as described in the
User's Guide, safe to use. Therefore, always read the instructions in this User's
Guide carefully before using the device.
• Adult assembly is required. Keep small parts away from children when
assembling.
• This product is not a toy. Do not allow children to play with it.
• This Digital Audio Baby Monitor is not a substitute for responsible adult
supervision.
• Keep this user's guide for future reference.
• Keep the cords out of reach of children.
• Do not cover the Digital Audio Baby Monitor with a towel or blanket.
• Test this monitor and all its functions so that you are familiar with it prior to
actual use.
• Do not use the Digital Audio Baby Monitor in damp areas or close to water.
• Do not install the Digital Audio Baby Monitor in extreme cold or heat, direct
sunlight, or close to a heat source.
• Only use the chargers and power adapters provided. Do not use other
chargers or power adapters as this may damage the device and battery pack.
• Only insert a battery pack of the same type.
• Do not touch the plug contacts with sharp or metal objects.
• Connect the power adapters to easily accessible electrical outlets.
Safety Instructions
7
