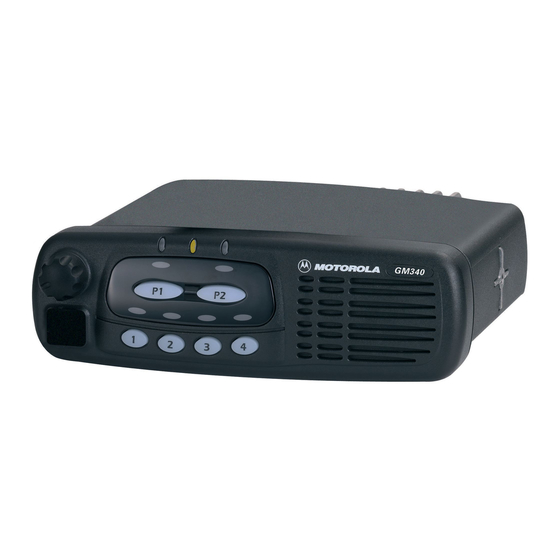
Motorola GM Series Panduan Instalasi - Halaman 19
Jelajahi secara online atau unduh pdf Panduan Instalasi untuk Radio Motorola GM Series. Motorola GM Series 36 halaman. Professional radio
Juga untuk Motorola GM Series: Informasi Layanan (34 halaman), Panduan Servis (28 halaman)

Installation Options
5.3
Remote Control Head Installation
5.3.1
Removing the Front Housing
1.
Remove the Controlhead from the Transceiver by inserting the dismantling tool (Motorola part
number 6686119B01) in the recess between the Controlhead and the Transceiver.
2.
Split the Controlhead into Front and Back housings by inserting the dismantling tool in the
recess between them.
NOTE
1. To minimise cosmetic damage disassemble from the bottom side, (label side).
2. The Controlhead Back Housing is not required for remote mounting.
3.
Remove the flex from the Transceiver only.
7
6
5.3.2
To Assemble the Remote Back Housing
1.
Remove the twists from the flex and connect the flex from the Controlhead to the Remote
Back PCB connector.
For correct orientation of the flex, align the 'O' on the flex with the 'O' on the PCB.
NOTE
2.
Align the speaker with the speaker support.
3.
Press the Controlhead onto the Remote Back Housing until ALL the tabs snap into place.
5.3.3
To Assemble the Remote Front Housing:
1.
Connect the flex from the Remote Front Housing to the top small connector in the Transceiver.
NOTE
For correct orientation of the flex in the Transceiver, the "plastic" tab should be up,
contacts facing down. Align the 'O' on the flex with the 'O' on the Transceiver. The
flex must be pushed into the connector until it meets the stop.
2.
Press the Remote Front Housing onto the Transceiver chassis until the chassis tabs snap into
place.
8
5
4
Figure 1-8 Remote Front and Back Housings
1
2
3
5
1-11
4
ZWG0130204-O
