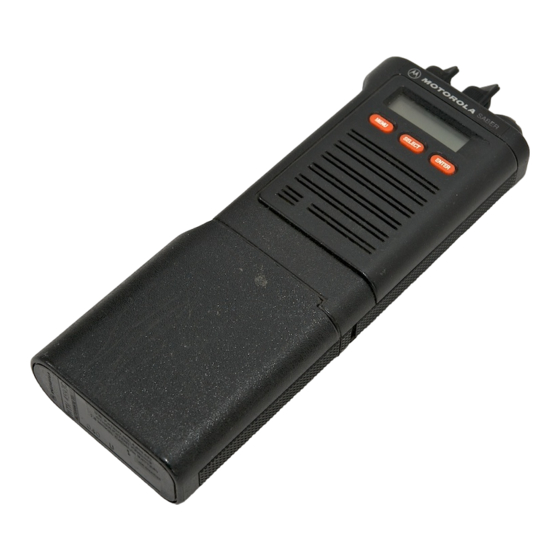
Motorola SECURENET SABER R Panduan Servis - Halaman 9
Jelajahi secara online atau unduh pdf Panduan Servis untuk Radio Portabel Motorola SECURENET SABER R. Motorola SECURENET SABER R 29 halaman.

When
removing the main circuit board from the frame
assembly,
do the following:
1.
Remove
the
back
shield assembly.
2. Unplug the
PTT/controls flexible
circuit.
3.
Remove
the two power amplifer module
(U202)
screws
from
the frame.
4.
Remove
module
SECURENET
US900.
5.
Remove
the two main compression connector
screws.
6.
Lift the board at the
bottom
and
pull out from
under the control top panel.
The
rf
and ground contacts at the top of the main
circuit board are
exposed when
the board is removed
from the
frame.
Special care
must be taken
to
avoid
accidental damage
to
these contacts.
G
.
Frame
Assembly
The
tapped tabs
on the
frame can be stripped
if
excessive screw
tightening torques are used
(see
Torque Specifications table). The frame
is not
repairable.
If
the
PTT/controls flex circuit
must be lifted or
removed for any reason,
it
must not be readhered to
the frame; the flex must be replaced.
H
.
Dual-Function Switch ($801)
and
Actuator Assembly
Before removing the switch, remove the knob by
gently separating the two arms
of the switch
bracket
(located between the switch and the
main o-ring
seal)
and pulling upward on the knob.
Before reinserting the knob, ensure that the slot
in
the switch is properly aligned with the blade
on the
knob's shaft.
When
the knob is properly inserted, the arms of the
switch bracket
will
snap
into
position (approximately
0.2 inches apart), the knob
will not
be loose
in
the
switch bracket, and the bracket
will hold
the switch
firmly
against
the inside of the top contro! panel.
If
this is not the
case,
replace the switch bracket.
lll.
REASSEMBLY
Reassemble
the radio
in
the
reverse
order of
disassembly,
referring
to
"SERVICING MAJOR
SUBASSEMBLIES"
(Section 2) and making
certain:
that the speaker/microphone
connector (and the
LCD
interconnect header on
SABER
II
radios)
is
correctly
aligned so that
no twisting or pinching of the flexible
circuit
occurs when
the
speaker bracket
is reattached
to
the frame assembly.
that the two extended
tabs at
the top of the
speaker
bracket are properly inserted
into
the slots between
the frame and the control top panel.
that the
PTT
switch and monitor
button are not
depressed
while the frame
is being inserted
into the
housing.
to tighten all
hardware loosened or removed during
disassembly
per the torque
specifications
listed
in
the
Torque Specifications table. Use recommended
torque driver (Motorola
RSX4043A
Rototorq Tool or
equivalent).
that there is no foreign material on the main o-ring or
stud
seals.
CAUTION™
°°
Inspect
the framé stud
seals
and the top panel
o-ring and replace
if
any damage exists
to properly orient the
completed frame assembly
before inserting
it
into
the radio housing.
6
When
removing the main circuit board from the frame
assembly,
do the following:
1.
Remove
the
back
shield assembly.
2. Unplug the
PTT/controls flexible
circuit.
3.
Remove
the two power amplifer module
(U202)
screws
from
the frame.
4.
Remove
module
SECURENET
US900.
5.
Remove
the two main compression connector
screws.
6.
Lift the board at the
bottom
and
pull out from
under the control top panel.
The
rf
and ground contacts at the top of the main
circuit board are
exposed when
the board is removed
from the
frame.
Special care
must be taken
to
avoid
accidental damage
to
these contacts.
G
.
Frame
Assembly
The
tapped tabs
on the
frame can be stripped
if
excessive screw
tightening torques are used
(see
Torque Specifications table). The frame
is not
repairable.
If
the
PTT/controls flex circuit
must be lifted or
removed for any reason,
it
must not be readhered to
the frame; the flex must be replaced.
H
.
Dual-Function Switch ($801)
and
Actuator Assembly
Before removing the switch, remove the knob by
gently separating the two arms
of the switch
bracket
(located between the switch and the
main o-ring
seal)
and pulling upward on the knob.
Before reinserting the knob, ensure that the slot
in
the switch is properly aligned with the blade
on the
knob's shaft.
When
the knob is properly inserted, the arms of the
switch bracket
will
snap
into
position (approximately
0.2 inches apart), the knob
will not
be loose
in
the
switch bracket, and the bracket
will hold
the switch
firmly
against
the inside of the top contro! panel.
If
this is not the
case,
replace the switch bracket.
lll.
REASSEMBLY
Reassemble
the radio
in
the
reverse
order of
disassembly,
referring
to
"SERVICING MAJOR
SUBASSEMBLIES"
(Section 2) and making
certain:
that the speaker/microphone
connector (and the
LCD
interconnect header on
SABER
II
radios)
is
correctly
aligned so that
no twisting or pinching of the flexible
circuit
occurs when
the
speaker bracket
is reattached
to
the frame assembly.
that the two extended
tabs at
the top of the
speaker
bracket are properly inserted
into
the slots between
the frame and the control top panel.
that the
PTT
switch and monitor
button are not
depressed
while the frame
is being inserted
into the
housing.
to tighten all
hardware loosened or removed during
disassembly
per the torque
specifications
listed
in
the
Torque Specifications table. Use recommended
torque driver (Motorola
RSX4043A
Rototorq Tool or
equivalent).
that there is no foreign material on the main o-ring or
stud
seals.
CAUTION™
°°
Inspect
the framé stud
seals
and the top panel
o-ring and replace
if
any damage exists
to properly orient the
completed frame assembly
before inserting
it
into
the radio housing.
6
