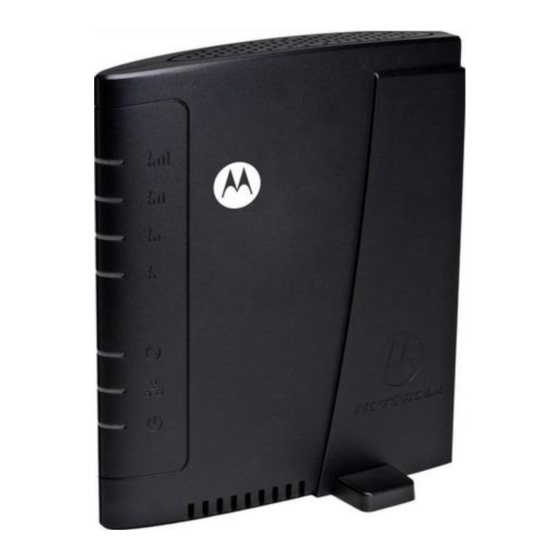
Motorola CPEi 35800 Panduan Pengguna - Halaman 13
Jelajahi secara online atau unduh pdf Panduan Pengguna untuk Modem Motorola CPEi 35800. Motorola CPEi 35800 50 halaman. Cpei 800 series

2
• Check the box that is called "Auto Adjust for Daylight Savings Time" if you live in a
• Click the Next button.
Step 3 - WiMAX Security
The WiMAX Security tab contains your authentication method. Check with your
service provider to determine if they require a user name and password for
authentication purposes.
• If the Authentication Method is EAP-TLS, no User Name and Password are
• If the Authentication Method is EAP-TTLS/MS-CHAPv2, enter a User Name and
• If you are unsure of the Authentication Method, select EAP-TLS (which is the
Step 4 - Account
The Account tab allows you to manage Voice over IP (VoIP) related services. Please
consult with your telephony service provider for these settings.
Click the Apply button when finished.
Congratulations! You have now completed the setup of your WiMAX connection.
Click OK on the Congratulations! dialog box.
A status screen appears that shows Network status and telephony status. The Network
Status screen provides any status associated with your WiMAX Wireless Broadband
connection. The Telephony Status screen provides status of your telephony service.
• The Restart button is used to restart the device. The restart button is available on
• The Wizard button starts the set-up wizard over again.
• The Refresh button refreshes the screen with the current status.
• The Auto Refresh button allows the web browser to automatically refresh at the
2-4
region that observes Daylight Savings Time. This box is checked by default.
required. Enter the Realm information supplied by your service provider. Click the
Next button.
Password, and Realm information supplied by your Service Provider. Once you have
entered the User Name/Password/Realm information, click the Next button.
default) and click the Next button.
every screen.
interval determined in the Control Panel menu.
Installation
OCT 2010
