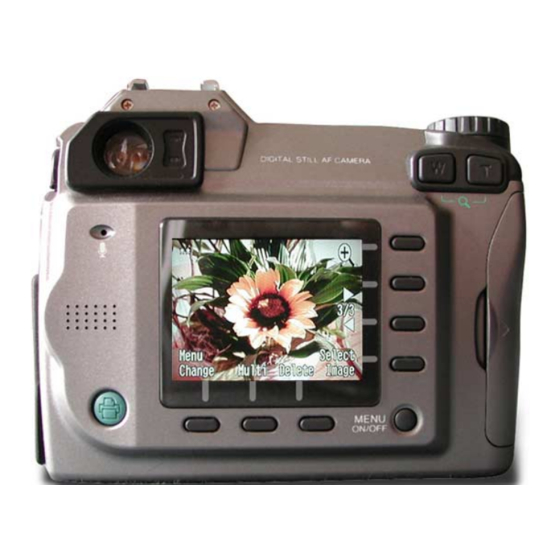
Epson PhotoPC 750Z Panduan Pengguna - Halaman 4
Jelajahi secara online atau unduh pdf Panduan Pengguna untuk Perangkat lunak Epson PhotoPC 750Z. Epson PhotoPC 750Z 11 halaman. For photopc 700, photopc 750z cameras
Juga untuk Epson PhotoPC 750Z: Informasi Penting (1 halaman), Panduan Pengguna (24 halaman), Brosur & Spesifikasi (2 halaman), Ringkasan Teknis (8 halaman), Panduan Pengguna (22 halaman), Panduan Cepat (2 halaman)

EPSON PhotoPC 750Z
Minimum System Requirements
®
Windows
Processor
486 or higher
Operating
Windows 95, Windows 98,
System
Windows NT 3.51 or
Windows NT 4.0 (Service
Pack 3)
RAM
At least 16MB
Ports
Serial port with standard
RS-232C interface (19,200
bps, or higher)
Display
640
480, 256 colors
Hard drive
At least 40MB
space
CD-ROM
Double-speed
drive
Using Batteries
PhotoPC 750Z comes with four rechargeable NiMH batteries
and a charger.
Charging Batteries
It's important to make sure your batteries are fully charged, so
they will last as long as possible before they need recharging.
Warning:
Shock hazard. Make sure you use the charger only with EPSON
rechargeable NiMH batteries (model EU-24). To avoid the danger of
leakage or explosion, do not place any other batteries in the charger.
Read all safety and handling instructions before using the charger.
Note the following when charging batteries:
Do not insert batteries backwards.
Do not open the cover while batteries are charging.
Do not use near water or handle with wet hands. For indoor
use only.
Do not use within reach of children.
Do not charge the batteries using an electrical outlet on an
airplane.
4 - EPSON PhotoPC 750Z
Macintosh
Power PC
™ or higher
processor
System Software
Version 7.1 or later
(System 7.5 or later
required to access
CompactFlash card
memory directly from
the Macintosh)
At least 16MB
Standard Macintosh
modem/printer port
(19,200 bps, or higher)
640
480, 256 colors
At least 40MB
Double-speed
1/99
Follow these steps to charge your batteries for the first time:
1. Lift up the cover of the charger and insert all four batteries,
positioning the + and – ends as shown. Then close the cover
firmly.
2. Turn the charger over and flip the two prongs out of their
compartment.
3. Plug the charger into an electrical outlet. Both lights turn
red, indicating that the charger is working. When the
batteries are fully charged, after about two and a half hours,
the lights go off.
Note:
The charger lights flash to indicate changes in battery
temperature and voltage. If the lights continue to flash for more
than half an hour, the batteries may be damaged or worn out, and
should be replaced. Unplug the charger if the batteries are not
fully charged after four hours.
4. Now charge your batteries again by opening and then
closing the charger. The second charge should take about
two and a half hours.
5. Charge the batteries a third time by opening and closing the
charger again. This charge should take about 20 minutes.
