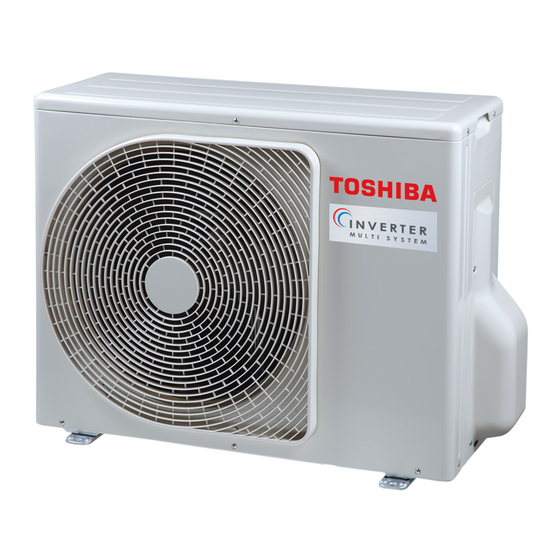
Toshiba 13344 Panduan Instalasi - Halaman 12
Jelajahi secara online atau unduh pdf Panduan Instalasi untuk Pendingin Udara Toshiba 13344. Toshiba 13344 18 halaman.

Outdoor Unit
3. Close the Handle Low of the gauge manifold valve fully, then stop
operating the vacuum pump.
• Leave the gauge and pump as they are for 1 or 2 minutes, then make
sure that the compound pressure gauge reading stays at –101 kPa (–76
cmHg).
• You need not add refrigerant.
4. Disconnect the charge hose from the service port, then open the valve
stem fully using a 4 mm hexagon wrench.
Hexagon wrench is
required.
5. Tighten the service valve stem cap and service port cap securely.
CAUTION
Use a torque wrench and tighten the nut at
the specifi ed torque value.
6. Tighten all the caps on the valves securely, then perform a gas leak
inspection.
Service valve
Valve stem cap
Type
mm
N•m
Liquid side
6.35
14 to 18
9.52
14 to 18
Gas side
12.7
33 to 42
Compound
pressure gauge
–101 kPa (–76 cmHg)
Handle Low
Charge hose
Service valve at
the liquid side
Service valve at
the gas side
Service port
(Valve core
(Setting pin))
Service port cap
Valve stem cap
Tighten torque
Service port cap
kgf•m
N•m
kgf•m
1.4 to 1.8
—
1.4 to 1.8
14 to 18
1.4 to 1.8
3.3 to 4.2
14 to 18
1.4 to 1.8
Pressure gauge
Handle Hi
(Keep full closed)
Manifold valve
Charge hose
Vacuum pump
adapter for
counterfl ow
preventation
Vacuum pump
Insulation of the Refrigerant Pipes
• Insulate the refrigerant pipes for liquid and gas separately.
Gas Leak Inspection
• Perform a gas leak inspection for the fl are nut connections, valve stem
connection, and service port cap without fail.
• Use a leak detector exclusively manufactured for R32.
Flare nut connections
(Indoor unit)
Service port cap
connection
Valve stem cap
connection
* Check point example (RAS-3M18U2AVG-E)
Performing Additional Installation of an Indoor Unit
1. Collect refrigerant from the outdoor unit.
2. Turn off the circuit breaker.
3. Perform additional installation referring to the procedure from "Refrigerant
Piping Connection" on the previous page.
—
7
Electrical work
WARNING
• Be sure to comply with local regulations/
codes when running the wire from the
outdoor unit to the indoor unit.
(Size of wire and wiring method etc.)
• A lack of electrical capacitance or
incorrect wiring may cause an electric
shock or a fi re.
• To make sure that the wiring connection
are secure, use designated cables.
• Fix the cables securely so that no
external force applied to the cables may
effect the terminals.
• If wiring connections are incomplete
or cables are not fi xed securely, it may
cause a fi re.
• Be sure to ground the outdoor unit.
• Incomplete grounding may lead to an
electric shock.
11
Installation Manual
Heat-proof bubble polyethylene
Flare nut connections
(Outdoor unit)
