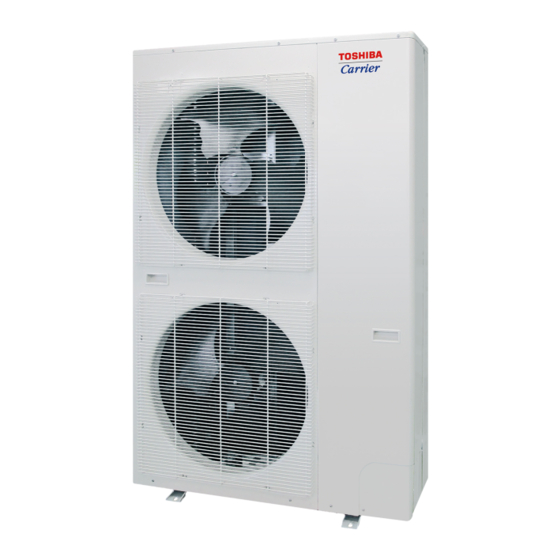
Toshiba Carrier MCY-MAP0607HS-UL Panduan Instalasi - Halaman 9
Jelajahi secara online atau unduh pdf Panduan Instalasi untuk Pendingin Udara Toshiba Carrier MCY-MAP0607HS-UL. Toshiba Carrier MCY-MAP0607HS-UL 30 halaman. Outdoor unit

Refrigerant piping connection
CAUTION
TAKE NOTE OF THESE 4 IMPORTANT POINTS BELOW FOR PIPING WORK
1. Keep dust and moisture away from inside the connecting pipes.
2. Tightly connect the connection between pipes and the unit.
3. Evacuate the air in the connecting pipes using a VACUUM PUMP.
4. Check for gas leaks at connection points.
Pipe connection method
Flaring
1. Cut the pipe with a pipe cutter.
Correct
90°
2. Remove the burr inside the pipe.
When removing the burr, be careful that the chips do not fall into the pipe.
3. Remove the flare nuts attached to the outdoor / indoor unit, then insert them into each of the pipes.
4. Flare the pipes.
See the following table for the projection margin (A) and flaring size (B).
A
Pipe
A
Rigid
Outside
Thickness
(clutch type)
(wing nut type)
diameter
R410A tool
R410A tool
in
1/4"
0.03"
0 to 0.02"
0.04" to 0.06"
mm
6.35
0.8
0 to 0.5
1.0 to 1.5
in
3/8"
0.03"
0 to 0.02"
0.04" to 0.06"
mm
9.52
0.8
0 to 0.5
1.0 to 1.5
in
1/2"
0.03"
0 to 0.02"
0.04" to 0.06"
mm
12.7
0.8
0 to 0.5
1.0 to 1.5
in
5/8"
0.04"
0 to 0.02"
0.04" to 0.06"
mm
15.88
1.0
0 to 0.5
1.0 to 1.5
in
3/4"
0.05"
0 to 0.02"
0.04" to 0.06"
mm
19.05
1.2
0 to 0.5
1.0 to 1.5
EN-15
Incorrect
Incorrect
Incorrect
Obliquity
Roughness
B
B
Flare Nut
Imperial
Tighten torque
Width
across flat
lbf·ft
N·m
0.39"
0.67"
10.3 to 13.3
14 to 18
9.9
17
0.52"
0.87"
24.3 to 31.0
33 to 42
13.2
22
0.65"
1.02"
36.1 to 45.0
49 to 61
16.6
26
0.78"
1.14"
46.5 to 56.8
63 to 77
19.7
29
0.94"
1.42"
73.8 to 88.5 100 to 120 10.0 to 12.0
24.0
36
* In case of flaring for R410A with the conventional flare tool, pull the tool out approx. 0.02" (0.5 mm) more than that
for R22 to adjust it to the specified flare size.
The copper pipe gauge is useful for adjusting the projection margin size.
REQUIREMENT
• When brazing the refrigerant pipes, be sure to use nitrogen gas to prevent oxidation of the inside of the pipes;
otherwise clogging of the refrigerating cycle due to oxidized scale may occur.
• Use clean and new pipes for the refrigerant pipes and perform the piping work so that water or dust does not
contaminate the refrigerant.
* Remove all flux after brazing.
• Be sure to use a double spanner to loosen or tighten the flare nut. If a single spanner is used, the required level of
tightening cannot be obtained. Tighten the flare nut with the specified torque.
• Do not apply refrigerant oil to the surface of the flare.
Coupling size of brazed pipe
Warp
Connected section
External size
K
Standard outer
dia. of connected
copper pipe
in
1/4"
mm
6.35
in
3/8"
mm
9.52
in
1/2"
kgf·m
mm
12.7
in
5/8"
1.4 to 1.8
mm
15.88
in
3/4"
3.3 to 4.2
mm
19.05
4.9 to 6.1
6.3 to 7.7
– 8 –
Internal size
G
Connected section
External size Internal size
Min. depth of
insertion
Standard outer dia.
C
F
K
G
1/4"±0.001
0.25"
+0.002
0.28"
0.24"
-0.001
6.35±0.03
6.45
+0.04
7
6
-0.02
3/8"±0.001
0.38"
+0.002
0.31"
0.28"
-0.001
9.52±0.03
9.62
8
7
+0.04
-0.02
1/2"±0.001
0.50"
0.35"
0.31"
+0.002
-0.001
12.7±0.03
12.81
+0.04
9
8
-0.02
5/8"±0.001
0.63"
+0.002
0.35"
0.31"
-0.001
15.88±0.03
16.00
+0.04
9
8
-0.02
3/4"±0.001
0.76"
+0.002
0.43"
0.39"
-0.001
19.05±0.03
19.19
11
10
+0.04
-0.02
Installation Manual
Min. thickness
of coupling
Oval value
0.002" or less
0.02"
0.06 or less
0.5
0.003" or less
0.02"
0.08 or less
0.6
0.004" or less
0.03"
0.10 or less
0.7
0.005" or less
0.03"
0.13 or less
0.8
0.006" or less
0.03"
0.15 or less
0.8
EN-16
