Epson PowerLite 1725 Panduan Pengoperasian - Halaman 9

Jelajahi secara online atau unduh pdf Panduan Pengoperasian untuk Perangkat lunak Epson PowerLite 1725. Epson PowerLite 1725 47 halaman. Esc/vp21 command business projectors
Juga untuk Epson PowerLite 1725: Panduan Pengguna (42 halaman), Daftar Bagian (1 halaman), Panduan Pengaturan Cepat (4 halaman), Panduan Pengguna (1 halaman), Buletin Dukungan Produk (25 halaman), Buletin Dukungan Produk (12 halaman), Buletin Dukungan Produk (22 halaman), Buletin Dukungan Produk (28 halaman), Buletin Dukungan Produk (41 halaman), Buletin Dukungan Produk (34 halaman), Buletin Dukungan Produk (38 halaman), Buletin Dukungan Produk (28 halaman), Buletin Dukungan Produk (15 halaman), Buletin Dukungan Produk (22 halaman), Spesifikasi (2 halaman), Panduan Pengguna (25 halaman)
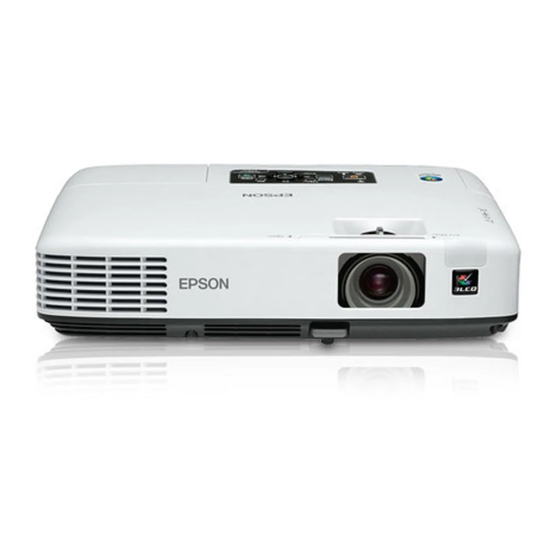
Epson PowerLite 1725 Panduan Pengoperasian
Installing EasyMP Monitor
C
From here, continue with the installation by following the
on-screen messages.
Limitations imposed by a Windows Vista or
Windows 7 environment
When using EasyMP Monitor under Windows Vista or Windows 7, note
the following limitations.
• You must have administrator authority in order to use Register at
startup on the Environment setup screen of EasyMP Monitor. s
• If EasyMP Monitor is installed on your computer, uninstall it before
you update the operating system to Windows Vista or Windows 7.
Updating your OS without uninstalling the software may cause a
malfunction. s
p.46

Before starting operations

Check the following points before starting up EasyMP Monitor.
• EasyMP Monitor must be installed on the computer to be used for
monitoring and control.
• The computer and the projectors must be connected to the network.
• If using Windows 2000/Windows NT4.0/Windows XP/Windows
Vista/Windows 7, the computer must be started up in Administrator
mode.
• Depending on the projector model, a commercially-available serial W
TCP/IP conversion adapter and a connection cable are required in
order to use EasyMP Monitor. s Projector's User's Guide
Make the settings for the serial W TCP/IP conversion adapter before
connecting to the projector.
p.27
9