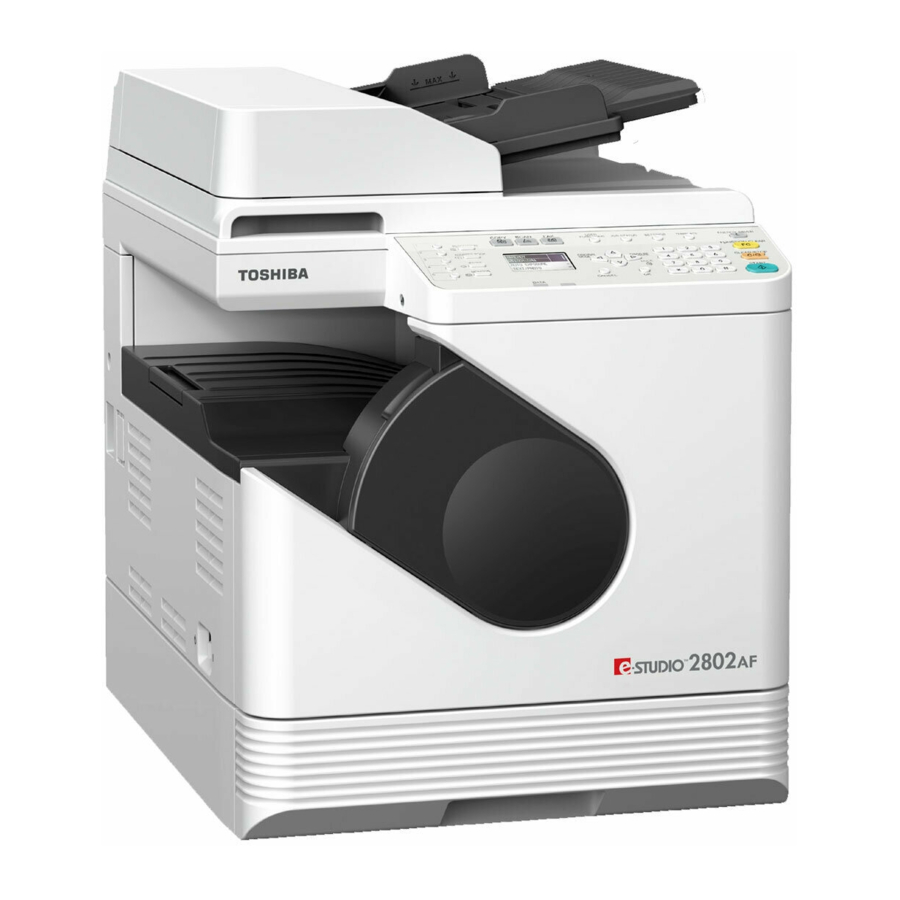
Toshiba e-studio 2309a Panduan Instalasi Perangkat Lunak - Halaman 31
Jelajahi secara online atau unduh pdf Panduan Instalasi Perangkat Lunak untuk Semua dalam Satu Printer Toshiba e-studio 2309a. Toshiba e-studio 2309a 48 halaman.

3.INSTALLATION IN MAC OS X
Configuring the printer
After you copy the PPD file to the library folder in the System Folder, you can configure the printer.
The equipment supports the following Mac OS X print services:
LPR printing
P.29 "Configuring LPR printing"
IPP printing
P.31 "Configuring IPP printing"
USB printing
P.33 "Configuring USB printing"
LPR printing and IPP printing are available when the equipment and your computer are connected over
TCP/IP network.
Configuring LPR printing
The screens for Mac OS 10.10.x are used in this section.
When you use Mac OS X 10.7.x - 10.9.x, configure the printer in the same way as you do in Mac OS X
10.10.x.
When you use Mac OS X 10.6.x, open [Print & Fax] from [System Preferences] and configure the
printer referring to the procedure below.
1
Open System Preferences and click [Print & Scan] (for Mac OS X 10.7.x or 10.8.x) or
[Printers & Scanners] (for Mac OS X 10.9.x or 10.10.x).
2
Click [+].
3 INSTALLATION IN MAC OS X
Installing the Printer in Mac OS X
29
