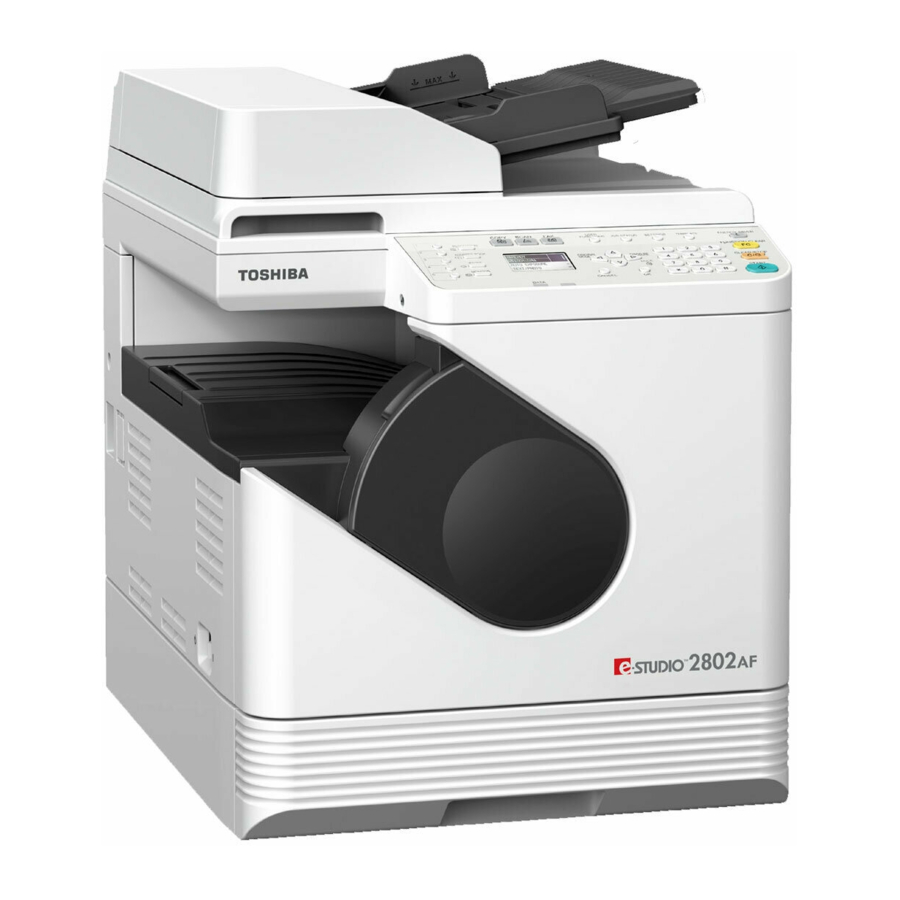
Toshiba e-studio 2802af Panduan Instalasi Perangkat Lunak - Halaman 16
Jelajahi secara online atau unduh pdf Panduan Instalasi Perangkat Lunak untuk Semua dalam Satu Printer Toshiba e-studio 2802af. Toshiba e-studio 2802af 48 halaman.

2 INSTALLATION IN WINDOWS
Installing the Drivers in Windows
This section describes how to install the printer, scanner, and N/W Fax drivers in Windows. Installing the
drivers requires the administrator authority.
Install the drivers using the installer or the Windows Plug and Play function.
P.14 "Installing the drivers using the installer"
P.17 "Installing the drivers using Plug and Play"
Close any running software, such as an antivirus program, before installing the drivers.
For Windows 7, Windows 8, Windows Server 2008 R2, or Windows Server 2012, use the installer to
install the drivers. The Windows Plug and Play function cannot install them.
P.14 "Installing the drivers using the installer"
When you are using Windows Server 2008 or Windows Server 2012, install [Desktop Experience] from
[Server Manager] of [Administrative Tools] before you install the scanner driver.
Installing the drivers using the installer
1
Make sure that the equipment is turned on.
2
Insert the Client Utilities/User Documentation DVD* into your computer.
*
The Client Utilities DVD is available for e-STUDIO2802A/2802AM/2802AF.
The installer automatically starts and opens the installation dialog box.
If the installer does not automatically start, open the "Drivers" folder and double-click "Setup.exe" in
the DVD.
3
Select "I accept the terms of the license agreement" and click [Next].
4
Select [USB Connection] or [Network Connection], and then click [Next].
5
Make sure that the equipment has been connected to the computer or the network and
click [Next].
If you have selected [USB Connection] at the previous step, proceed to step 7.
14
