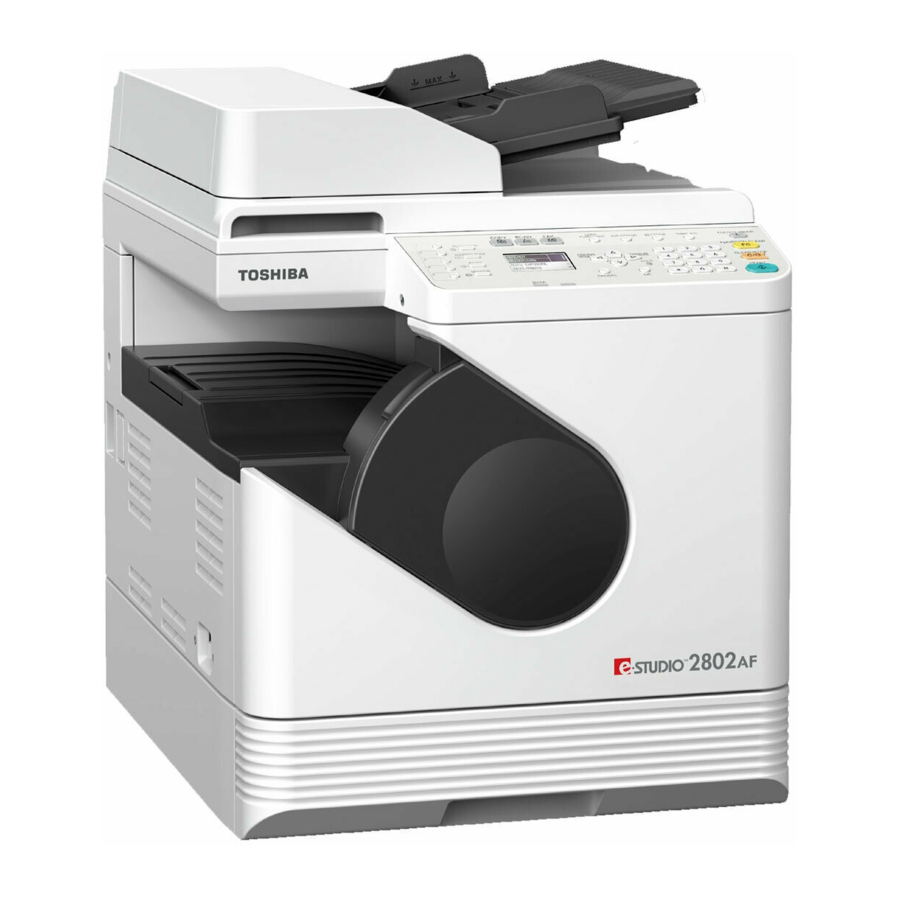
Toshiba e-studio 2802am Panduan Instalasi Perangkat Lunak - Halaman 18
Jelajahi secara online atau unduh pdf Panduan Instalasi Perangkat Lunak untuk Semua dalam Satu Printer Toshiba e-studio 2802am. Toshiba e-studio 2802am 48 halaman. Multifunctional digital systems
Juga untuk Toshiba e-studio 2802am: Panduan Cepat (2 halaman)

2 INSTALLATION IN WINDOWS
3. Enter the IP address of the equipment under [Specify a network printer by host name of IP
address.], then click [Next].
7
Check the model and the software to install and click [Next].
The option to select the model name is not displayed depending on the model used.
8
Click [Finish] when the installation is complete.
To install e-STUDIO Scan Editor, open the [Application] - [e-STUDIO Scan Editor] folders, double-click
"eSScanSetup.exe", and follow the instructions that appear on the screen. After the installation, remove
the DVD from the computer.
The Installer may ask you to restart your computer. If it does, select "Yes, I want to restart my
computer now." to restart your computer.
16
Installing the Drivers in Windows
