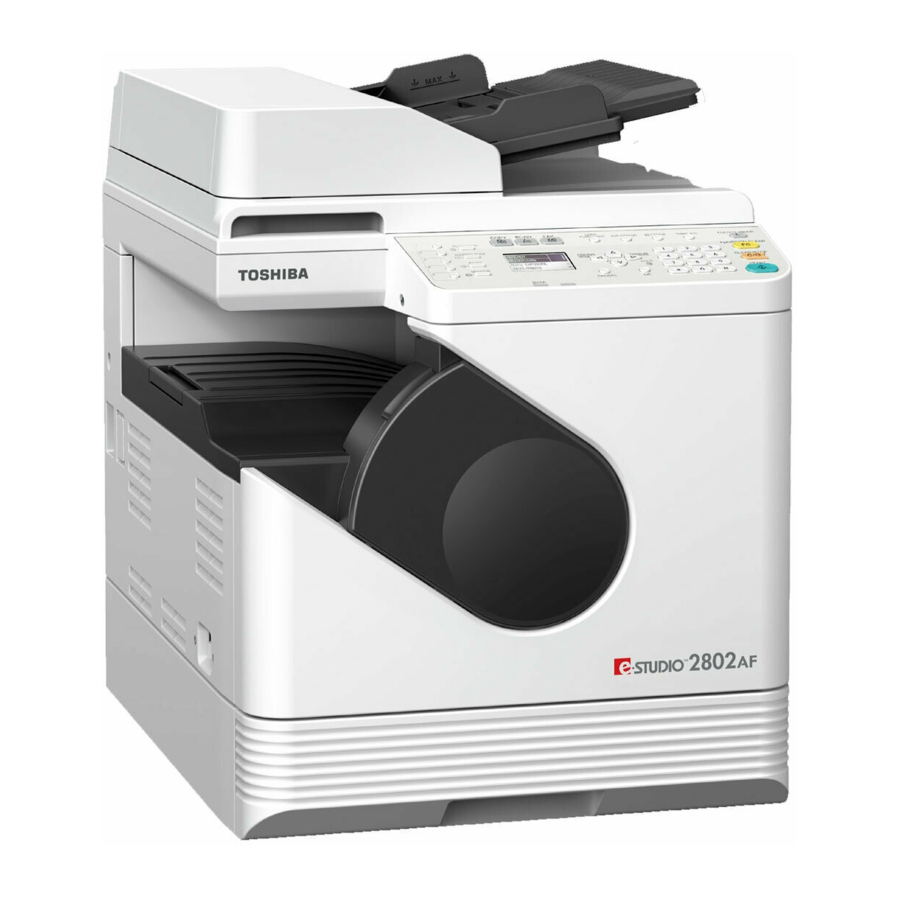
Toshiba e-studio 2802am Panduan Instalasi Perangkat Lunak - Halaman 9
Jelajahi secara online atau unduh pdf Panduan Instalasi Perangkat Lunak untuk Semua dalam Satu Printer Toshiba e-studio 2802am. Toshiba e-studio 2802am 48 halaman. Multifunctional digital systems
Juga untuk Toshiba e-studio 2802am: Panduan Cepat (2 halaman)

BEFORE INSTALLATION
1.
Before you start the installation, refer to the following pages according to the operating system that you use.
Before Installing the Software in Windows............................................................................ 8
Software on the Client Utilities/User Documentation DVD*....................................................................................8
System requirements..............................................................................................................................................8
Before Installing the Software in Mac OS X ........................................................................... 9
About the PPD file ..................................................................................................................................................9
System requirements..............................................................................................................................................9
Before Installing the Software in UNIX/Linux ...................................................................... 10
About CUPS .........................................................................................................................................................10
System requirements............................................................................................................................................10
Connection Environment....................................................................................................... 11
USB connection.................................................................................................................................................... 11
Network connection ..............................................................................................................................................12
