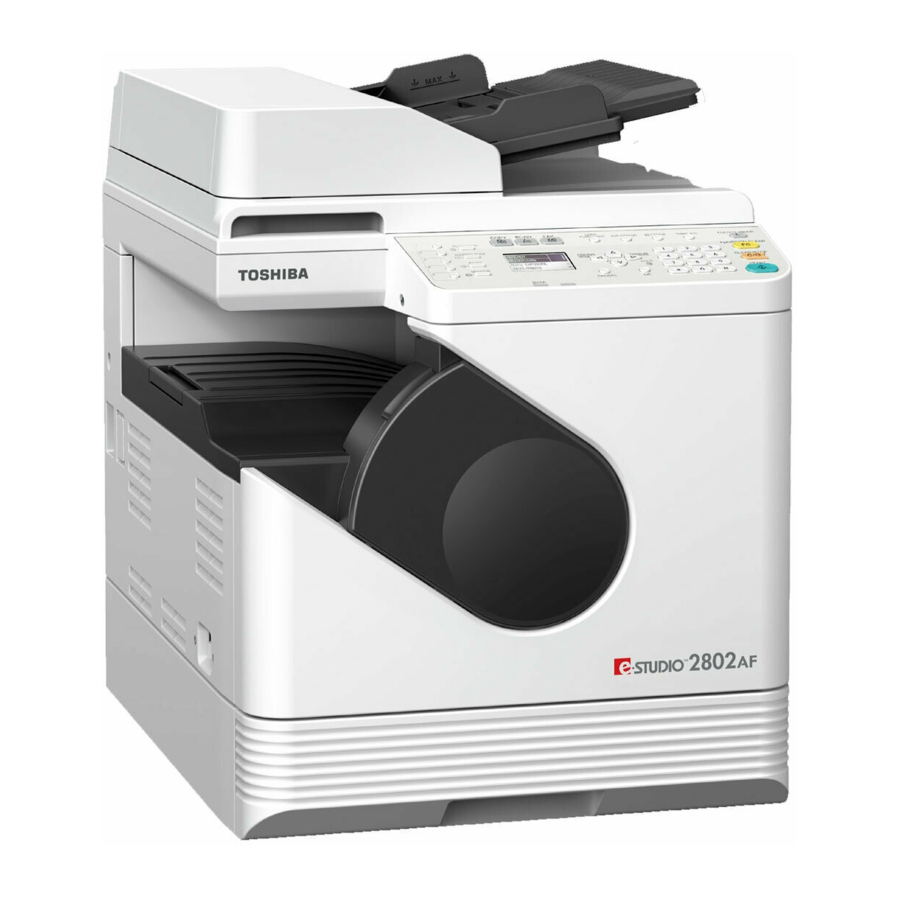
Toshiba e-studio 2802am Panduan Cepat - Halaman 2
Jelajahi secara online atau unduh pdf Panduan Cepat untuk Semua dalam Satu Printer Toshiba e-studio 2802am. Toshiba e-studio 2802am 2 halaman. Multifunctional digital systems
Juga untuk Toshiba e-studio 2802am: Panduan Instalasi Perangkat Lunak (48 halaman)

Before Use
Loading paper
Drawer
3
2
4
4
1
Bypass tray
1
3
4
2
Driver installation
Installing the driver requires the administrator authority.
For Windows 7, Windows 8, Windows Server 2008 R2, or
Windows Server 2012, use the installer.
Connecting computer
Before installing the drivers, connect the equipment
and the computer with a USB cable or Network interface
cable.
Component Description
User's Guide: Chapter 1
6
5
5
To set paper size of Drawer
When you load paper in the drawer, a pop-up window appears.
Follow the instructions and set the paper size. (When the "POP
UP" function is set to "ENABLE".)
To print on an A3 (LD) page
Load paper in the bypass tray, and follow the pop-up
instructions to set the paper size and paper type.
Software Installation Guide: Chapter 2
Note when installing from installer
• Close all running applications.
• If the installer does not automatically start, double-
click "Setup.exe" in the DVD.
Using installer
1. Close all running applications.
2. Make sure that the equipment is turned on.
3. Insert the DVD into the computer.
4. Double-click "Setup.exe".
5. Follow the on-screen instructions.
Basic Operations
Copier
1. Place the original(s).
7
Note when placing
originals on RADF
When placing long
originals (A3, B4, A4-R, LD,
LG, COMP, or 8K), open the
original holder so that the
size of the original can be
detected correctly.
2. Press [COPY] and make the
copy settings.
Printer
1. Select [Print] from the application's [File] menu.
2. Select your printer
, and
1
then click [Preferences]
Printer
and
3. Make print option settings, and then click [OK].
scanner
4. Click [Print] ([OK]).
functions
are
available.
Templates
Registering a template
1. Press [COPY] or [SCAN].
2. Make settings for the functions to register as a
template.
3. Press [TEMPLATE].
4. Press
or
to select "REGISTRATION", and then press
.
5. Press
or
to select a template, and then press [OK].
Original glass
3. Enter the number of copies
with the digital keys
then press [START]
To stop copying
RADF
Press [CLEAR/STOP]
To reset settings and LCD screen after copying
Press [FUNCTION CLEAR]
Shortcut keys
Press
: "ORIGINAL MODE"
Press
: Europe and the Americas "EXPOSURE",
READY
Except Europe and the Americas "ID
100%
1
A4
CARD"
AUTO EXPOSURE
TEXT/PHOTO
Scanner
User's Guide: Chapter 3
Scan to USB Memory
1. Place the original(s).
2
2
.
2. Press [SCAN].
3. Connect the USB storage device to the equipment and
1
wait a few seconds.
4. Press
or
5. Press
to make the scan settings as required.
6. Press [START] to scan your documents.
TWAIN Scan
1. Place the original(s).
2. Launch a TWAIN-compliant application.
3. Select the device from the application's [File] menu.
4. Select the menu to scan from the application's [File]
menu.
5. Make the scan settings, and then click [Scan].
Recalling a template
1. Press [COPY] or [SCAN].
2. Press [TEMPLATE].
3. Press
or
4. Press
or
[OK].
User's Guide: Chapter 2
1
, and
to copy.
2
1
2
User's Guide: Chapter 5
to select "USB", and then press [OK].
User's Guide: Chapter 2, 5
to select "RECALL", and then press
.
to select the template, and then press
Troubleshooting
