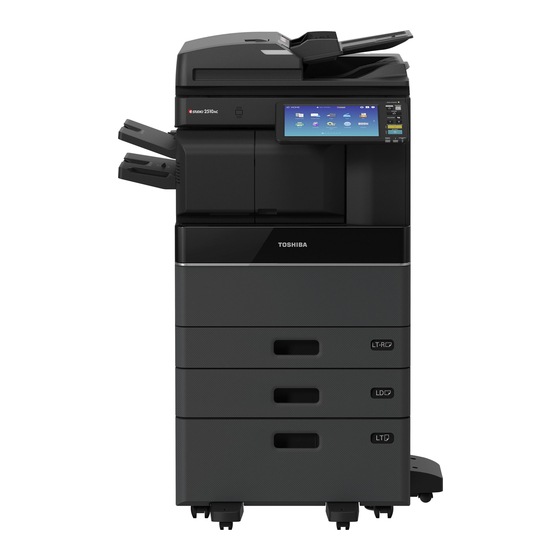
Toshiba e-STUDIO7516AC Panduan Pengguna - Halaman 17
Jelajahi secara online atau unduh pdf Panduan Pengguna untuk Semua dalam Satu Printer Toshiba e-STUDIO7516AC. Toshiba e-STUDIO7516AC 20 halaman. Sys board diagnosis tool
Juga untuk Toshiba e-STUDIO7516AC: Panduan Manajemen (32 halaman), Panduan Operator (32 halaman)

TABLE 2- Correspondence Table when checking Options
Inspection
No.
Item
9
PCIE ASIC1 DSDF
11
NETWORK
12
SATA I/F &
SMART
13
USB Host
14
USB FAX
(Continued on next page)
Option connect
status
unit connected.
LAN connector
connected
NG [LINK
DOWN]
NG [SPD]
OK?
Two Fax boards
connected
Inspection
result
OK?
Step 1. Check the installation
(If the DSDF
status of the DSDF I/F board.
unit is
Step 2. Replace the DSDF IF
connected
board.
properly, result is
"OK")
Step 3. Replace the SYS
board.
OK? [LINK
Step 1. Check the installation
DOWN]
status of the LAN connector.
Step 2. Check and replace LAN
It is displayed as
cable if necessary.
below)
"OK[Connect
Step 3. Replace the SYS
speed *]"
board.
* Connect
speed : 10, 100,
1000Mb/s
----
Number of USB
(NG will not be displayed)
device
connections
OK?
Step 1. Check if connectors
[Fax1 detected]
(CN102,CN104) are connected.
Step 2. Check and replace the
connect harness if necessary.
Step 3. Replace the Fax board.
Step 4. Replace the SYS
board.
17
Correspondence
If necessary, perform
HDD format and reinstall
the software.
