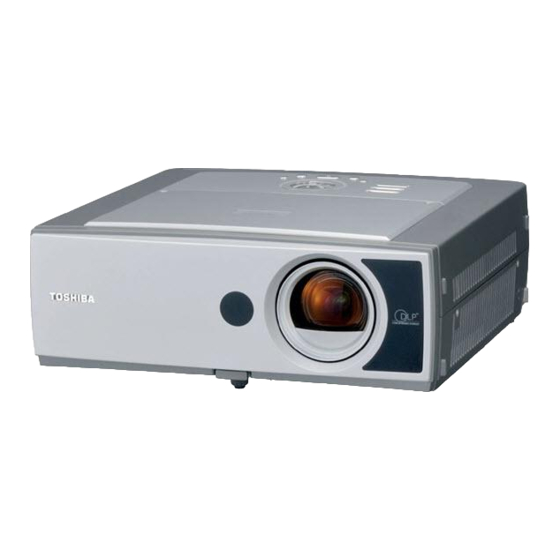
Toshiba TDP-TW355 Panduan Pemilik - Halaman 34
Jelajahi secara online atau unduh pdf Panduan Pemilik untuk Proyektor Toshiba TDP-TW355. Toshiba TDP-TW355 47 halaman. Data projector
Juga untuk Toshiba TDP-TW355: Spesifikasi (2 halaman), Panduan Pemilik (48 halaman)

Installing the applications
If you will use the wireless LAN PC card function, install the application on the supplied
CD-ROM onto your computer.
System Requirements
®
Supported OS:
Windows
2000, Windows
CPU:
Pentium M 1 GHz or higher recommended
RAM:
256 MB or more recommended
Screen area (resolution): 1024 by 768 pixels recommended
Notes
• This projector does not support the Wireless network projector function of
Windows
®
Vista feature.
• The Windows
®
Vista 64bit version is not supported.
• Some functions of applications may not be operational with Windows
Application Types and Major Functions
Wireless Utility
This application is used for wireless connections. Use it to send the images from the
computer's screen to your projector, and display on the screen.
JPEG Conversion Tool
Use to convert JPEG and other files into a format that can be displayed as a slide show
using a memory PC card or a USB memory.
How to install
In the supplied CD-ROM, select the Wireless Utility folder, and run setup.exe. Follow
the instructions on your computer screen.
A message may appear during installation, if it occurs, continue installation to be
completed.
When installation is finished, the following shortcuts will appear on your computer's
desktop:
Wireless Utility →
JPEG Conversion Tool →
How to uninstall
Uninstall [Toshiba Data Projector] program by using a program removal utility in the
[Control Panel].
Notes
• Your computer screen may temporarily go out during installation, but it is not an error.
• Before beginning installation or uninstallation, you need to log on as Administrator.
®
®
XP, Windows
Vista
®
Vista.
Operations
p.67
Operations
p.75
66
Using the Wireless Utility
Displaying a computer's screen via the projector
1
Launch the Wireless Utility
software application.
When the Wireless Utility launches, the Screen
Image transmission mode window appears on
the computer screen.
To switch to the Screen Image transmission
mode window from another mode, click on the
Screen Image icon
.
2
Select Transmission mode.
Click on Update automatically or Update manually. See step
Update automatically and Update manually.
3
Click on the Advanced button.
The Screen Image: Advanced Settings dialog
appears. Set the dialog as shown below, as
necessary.
• Interruption
Check the No Interruptions checkbox to prevent
other computers from interrupting the projector, for
example, during presentation in the Update
automatically mode.
• Window Display
Select the Place in Tasktray at the start of
transmission checkbox to iconify the Wireless
Utility and place it in the computer's tasktray
when transmission initiated.
To display the window, double click on this icon, or
right click and select Open from the popup menu.
Even with the Wireless Utility window minimized,
you can use the pop-up menu to stop or resume
transmission as described in step
4
• Mode
Selecting High quality improves the quality of the
projected image, but lowers communication
speed. Selecting High speed has the opposite
effect.
6
for the meanings of
and later.
67
