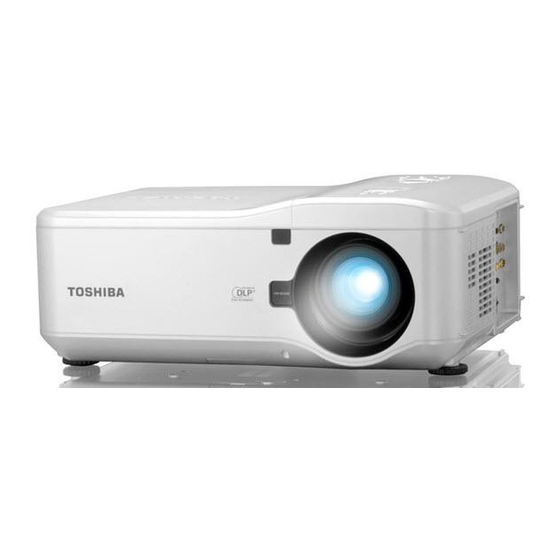
Toshiba TDP-WX5400 Panduan Pemilik - Halaman 32
Jelajahi secara online atau unduh pdf Panduan Pemilik untuk Proyektor Toshiba TDP-WX5400. Toshiba TDP-WX5400 42 halaman. Toshiba tdp-wx5400: user guide
Juga untuk Toshiba TDP-WX5400: Panduan Instalasi (16 halaman)

Operation using an HTTP browser (Continued)
Configuring network settings
The Network Settings screen is displayed as follows:
http:// <the projector's IP address> /lanconf.html
DOMAIN
Host Name: Type in a hostname. Up to 60 alphanumeric characters can be used.
Domain Name: Type in domain name of the network connected to the projector. Up to 60
alphanumeric characters can be used.
Apply: Click to reflect the entries.
MAIL
Alert Mail: Click Enable to enable Alert Mail feature. This option notifies your computer
of an error message via e-mail when using wired LAN. The error message will be notified
when the projector lamp has reached the end of its usable life or an error occurs in the
projector.
Sender's Address: Specify the sender's address. Up to 60 alphanumeric characters can be used.
SMTP Server Name: Type in the SMTP server name to be connected to the projector. Up to 60
alphanumeric characters can be used.
Recipient's Address 1 to 3: Type in recipient addresses. Up to 60 alphanumeric characters can be used.
Apply: Click to apply the settings.
TEST MAIL
Send a test mail to check if your settings are correct. Click to Execute to enable this
feature.
Test Mail Status Button: Click to display the test result.
Sample of a message sent from the projector:
Projector Name: X X X X
Lamp 1 or 2 Hours Used: xxxx [H]
The lamp is at the end of its usable life. Please replace the lamp.
Note
•
If you entered an incorrect address in a test, you may not receive an Alert mail.
Should this happen, check if the Recipient's Address is correctly set.
•
Test Mail is not available until either Sender's Address, SMTP Server's Name or
Recipient's Address 1-3 is completed.
62
Structure of the HTTP Server
Once the projector is connected to a network and configured correctly, the following screen
is displayed through the web browser. The functions that can be controlled vary depending
on the input signal to the projector.
http:// <the projector's IP address> /index.html
Function
Setting
Power panel On/Off
Picture panel BRIGHTNESS p q – Increases or decreases the brightness value
CONTRAST p q – Increases or decreases the contrast value
COLOR p q – Increases or decreases the color value
HUE p q – Increases or decreases the hue value
SHARPNESS p q – Increases or decreases the sharpness value
Volume panel p increases the output volume
q decreases the output volume
Source select
COMPUTER1 – Switches to the COMPUTER 1 IN connector
panel
COMPUTER2 – Switches to the COMPUTER 2 IN connector
COMPUTER3 – Switches to the COMPUTER 3 IN connector
COMPONENT – Switches to the COMPONENT IN connectors
VIDEO – Switches to the VIDEO IN connector
S-VIDEO – Switches to the S-VIDEO IN connector
Mute panel
PICTURE ON – Mutes the video
PICTURE OFF – Cancels the video muting
SOUND ON – Mutes the audio
SOUND OFF – Cancels the audio muting
OSD ON – Mutes the on-screen display
OSD OFF – Cancels the muting of the on-screen display
ALL ON – Mutes all functions
ALL OFF – Cancels the muting of all functions
Projector
Refresh – Updates the panel with the latest information available
status panel
Lamp1/2 life remaining – Displays the remaining life of Lamp 1/2
Lamp1/2 time – Displays Lamp 1/2 use in hours
PJ time – Displays the number of hours the project has been used
Error Status – Displays the status of projector errors
Description
Controls projector power
Controls the video
adjustments of the
projector
Controls projector volume
This switches the input
connector of the projector
This controls the mute
functions of the projector
This displays the status of
selected projector
functions
63
