Croydex Flexi-Fix QA201021 Manual - Halaman 3
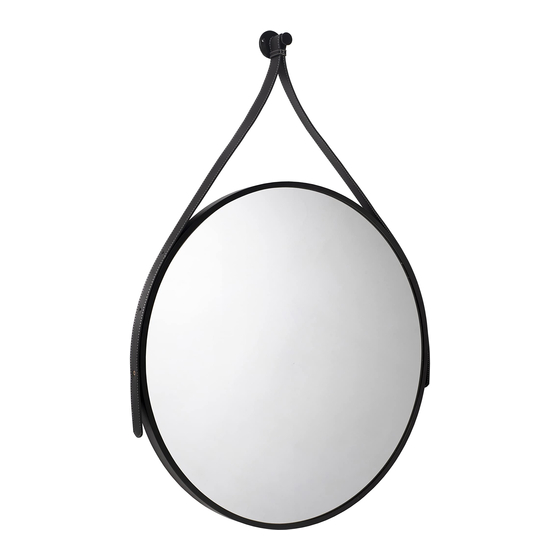
Jelajahi secara online atau unduh pdf Manual untuk Perabotan Dalam Ruangan Croydex Flexi-Fix QA201021. Croydex Flexi-Fix QA201021 4 halaman. Metal framed mirror with strap

5.
Insert the countersink
screws through the cams
and loosely secure the Hang 'N'
Lock bracket to the wall.
(See Fig. 5)
7.
Hang the mirror onto the
Hang 'N' Lock bracket.
Ensure the mirror has securely
located onto the bracket
before letting go.
(See Fig. 7)
9.
Place the hook bracket
behind the loop of the
strap and mark hole centres
using a pencil.
(See Fig. 9)
11.
Insert screws through
the hook bracket and
fasten in place. Once secure,
place the cover over the
bracket and screw on the
hook.
(See Fig. 11)
Note: Do not overtighten.
fig. 5
COUNTERSINK
SCREWS
fig. 7
fig. 9
fig. 11
6.
With the Hang 'N' Lock
bracket loosely attached
to the wall, adjust for height
and level by rotating the cams
with a flat head screwdriver.
Note: Use the attached spirit
level as a guide.
Once complete, fully tighten the
mounting screws to securely fix
the brackets into position.
(See Fig. 6)
Note: Do not overtighten.
8.
Lift the strap up against
the wall.
(See Fig. 8)
Note: Ensure the toggle is at
the highest position.
IMPORTANT! The strap is
decorative and not load
bearing. Ensure the weight of
the mirror is supported by the
bracket not the strap.
10.
Drill the marked holes
to a depth of 45mm
with a 6mm drill bit. Insert wall
plugs level with the surface
of the wall. For tiled surfaces,
insert the wall plugs below the
surface of the tiles to avoid
cracking.
(See Fig. 10)
Note: Wall plugs supplied are
for solid walls only.
12.
Loop the strap over
the hook. The strap
tension can be adjusted by
sliding the toggle down.
(See Fig. 12)
IMPORTANT! The hook and
strap are not load bearing.
fig. 6
SPIRIT LEVEL
fig. 8
fig. 10
fig. 12
MIR 052 R02
