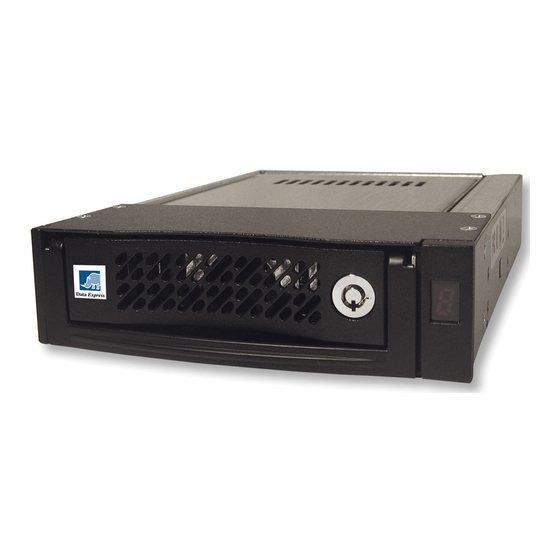
CRU Dataport DE110 Instal Manual
Jelajahi secara online atau unduh pdf Instal Manual untuk Kandang CRU Dataport DE110. CRU Dataport DE110 2 halaman. Sata 3gb/s drive enclosure

DE110 SATA 3Gb/s Install Guide
Removable SATA 3Gb/s Drive Enclosure
NOTE:
DE110 SATA 3Gb/s receiving frames support both SATA 3Gb/s
and DE110 SATA 3Gb/s carriers.
DE110 SATA 1.5Gb/s "universal' receiving frames support
DE110 SATA 1.5Gb/s and DE110 PATA carriers.
For SATA 3Gb/s operation, a SATA 3Gb/s controller and SATA
3Gb/s drive are required.
Receiving Frame Motherboard
I/O Connector (JP1)
The input/output connector provides a standard interface for all
SATA signals.
SATA Power Connector (P1)
15-Pin SATA power connector to accept DC power.
NOTE: If your system does not accommodate the SATA
power connector, simply use the SATA-to-DC Power adapter
cable (included in the accessory bag) to connect to your
system's DC power.
Drive Activity LED Pin (JACT1)
Pin 1 is used for host connection (cable not included) to the Drive
Activity LED. Some SATA PC systems/host controllers provide
support for the Drive Activity LED feature (refer to the SATA PC
system/host controller manufacturer's documentation for further
information).
Factory Reserved Pins
These pins are reserved for factory use only - Do not install
jumper under any circumstances!
Drive Activity
Reserved
SATA Power
Connector
LED Pin
(P1)
Figure 1: Receiving Frame Motherboard (rear view)
= Pin 1
I/O Connector
(J1)
Rugged, Reliable, Mobile, Secure
Installation
1. Remove the drive cover from the carrier.
2. Carefully insert the drive into the carrier. Slide the drive
towards the Drive Carrier Board, so that the I/O connector on
the drive mates with the connector on the Drive Carrier Board.
Turn the drive/carrier assembly over.
3. Fasten the drive into place with four (4) #6-32 Phillips Flat
Head screws. Some drives may require minor adjustment
before securing into carrier with screws.
4. Install the drive cover and secure with two (2) #6-32 Phillips
Flat Head screws (provided).
SATA Drive
(not included)
Drive Carrier
Figure 2: Drive Installation Assembly
1-800-260-9800
Drive Carrier
Board
#6-32 Phillips
Flat Head Screw
(4 each)
www.CRU-DataPort.com
TM
