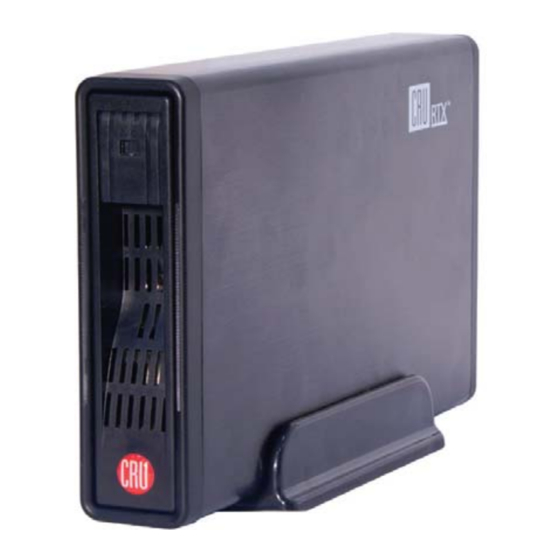
CRU Dataport RTX 100-3Q Panduan Memulai Cepat - Halaman 2
Jelajahi secara online atau unduh pdf Panduan Memulai Cepat untuk Penyimpanan CRU Dataport RTX 100-3Q. CRU Dataport RTX 100-3Q 2 halaman.
Juga untuk CRU Dataport RTX 100-3Q: Panduan Pengguna (9 halaman)

2. Identifying Parts
Take a moment to familiarize yourself with the parts of the RTX100-3Q. This will help you to better
understand the remaining instructions.
FireWire Ports
Power Switch
eSATA Port
USB 3.0 Port
Power
Connection
Port
3. HDD Installation
a. Pull the ejection handle, open the door.
b. Slide in your SATA hard drive, connector-end first.
c. Shut the door until you hear it click.
4. Connecting and Powering
RTX100-3Q can connect to your computer in one of several ways (eSATA, FireWire 800, and USB
3.0). Choose one of those cables to use and plug it into the product. Connect the power cord to
the product and to a grounded electrical outlet. Switch the product on. The drive will spin up
automatically. Your RTX100-3Q is now ready to use!
5. Frequently Asked Questions
Q: I just connected my eSATA product to my computer for the first time. I turned on the power,
but the drive did not spin up. Is the drive dead?
A: SATA drives will not power up if a SATA cable is plugged into them but no valid connection
is established with a host. To test this, unplug the SATA cable, but leave the power plugged
in. If the drive spins up in this configuration, then the problem can be attributed to the SATA
host (i.e. eSATA host card).
Q: Can I swap drives without powering off the product?
A: If you're connecting to the computer via FireWire or USB, then yes. If you're connecting
via eSATA, then you can "hot swap" only if the eSATA host supports this feature. Third-
party host cards may or may not support this feature.
Lock
Q: Data transfers with my product are taking longer than they should. What is causing this?
Ejection Handle
A: In Windows, all drives have a setting called Write Cache. To find this setting, right-click
on the drive's icon in My Computer, then select Properties. In the window that opens,
select the Hardware tab, select the drive again from the list of drives on that tab, then
click the Properties button. Another window will open. On the new window, select the
Policies tab and you will see the Write Caching and Safe Removal setting. Make sure
the option to "Optimize for performance" is selected. Click "OK" to apply the change.
Note: be sure to always "eject" the product before disconnecting it to prevent data
corruption. You can eject products connected via USB or FireWire by clicking on the
green arrow icon in the notification area of the task bar.
RTX220 QR - Manual
