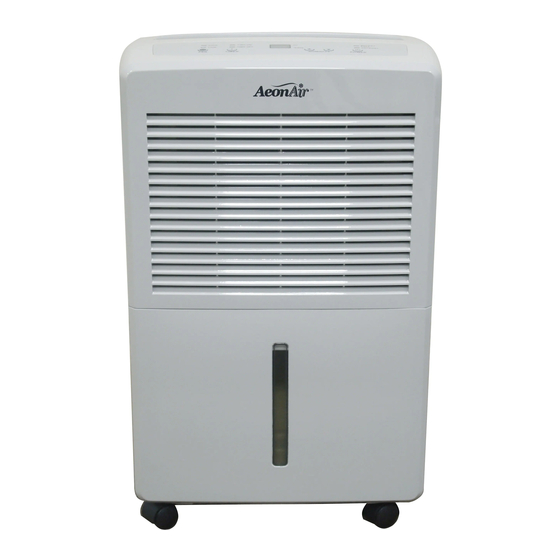
AeonAir WDH-945EL Panduan Pengguna - Halaman 6
Jelajahi secara online atau unduh pdf Panduan Pengguna untuk Dehumidifier AeonAir WDH-945EL. AeonAir WDH-945EL 15 halaman.

OPERATING INSTRUCTIONS
INSTALLING PVC DRAIN HOSE
When the water tank is full and/or incorrectly positioned inside the cabinet, the water full red light
turns on and remains on until such time that the tank is emptied and/or correctly re-positioned.
This condition will result in the immediate shut down of the dehumidifying system (both compressor
and fan motor operations are terminated). This is a safety feature. When the water tank is emptied
and/or correctly re-positioned, the dehumidifier will resume operation automatically.
NOTE: It may take several minutes before operating conditions resume.
CONTINUOUS DRAIN (garden hose not included)
The function of continuous drain can be performed using the
following steps:
1. To save having to periodically empty the water tank, this unit
can be configured for continuous drain. You can use a garden
hose to connect to the continuous drain connector.
2. Unscrew and remove the drain cover at the rear of the unit (Fig.
A).
3. Remove the soft rubber stopper and place it in the water tank
for safe keeping (Fig. B).
4. Ensure the rubber seal ring is properly seated in the end of the
hose as shown in Fig. C.
5. Connect the garden hose to the drain port (Fig. D).
6. Tighten the garden hose in a clockwise direction onto the rear
of the unit (Fig. D).
7. Place the bucket in its original location (Fig. E).
Fig. A
Fig. B
Drain cover
Garden hose
(not included)
Fig. C
Rubber seal ring
Garden hose
(not included)
Fig. D
Garden hose
(not included)
Fig. E
Soft rubber
Bucket
stopper
Drain cover
10
CARE AND MAINTENANCE
CLEANING
CAUTION: Before attempting to clean and/or service this unit, always disconnect the power supply
cord from the electrical supply outlet.
1) DO NOT use gasoline, benzene, paint thinner, or any other chemicals to clean this unit, as
these substances will damage/deform both plastic components and luster finish.
2) Never attempt to clean the unit by pouring water directly over any of the surface areas, as this
will cause deterioration of electrical components and wiring insulation.
3) Use only a mild dish washing detergent, lukewarm water, and a soft cloth to wipe the exterior
surface of the unit and dry thoroughly.
STORAGE
When the dehumidifier is not being used for long time periods, please follow these instructions:
1) Disconnect the power cord from the power supply.
2) Empty the water tank and wipe (dry) thoroughly.
3) Clean air filter thoroughly.
4) Re-package the unit in the original carton.
5) Store the unit upright in a dry location.
TROUBLESHOOTING
Occasionally, you may encounter some problems that are of a minor nature and a service call
may not be necessary. Use this troubleshooting guide to identify possible problems you may be
experiencing.
PROBLEM
1) Unit will not operate.
2) Dehumidifying capacity
(moisture removal) low.
3) Relative Humidity setting not
reached after long period of operation.
TM
POSSIBLE CAUSE
• Check power cord connection.
• Check electrical outlet for blown fuse.
• Check if water tank is full (if yes, empty).
• Check water tank is properly installed.
• Ambient (room) temperature too low (below 41°F).
• Poor air flow circulation/obstruction of front grille.
• Air filter is dirty and/or blocked.
• Relative humidity in surrounding environment very low.
• Check all doors and windows are closed.
• Area/room is too large for the capacity of the dehumidifer.
11
TM
