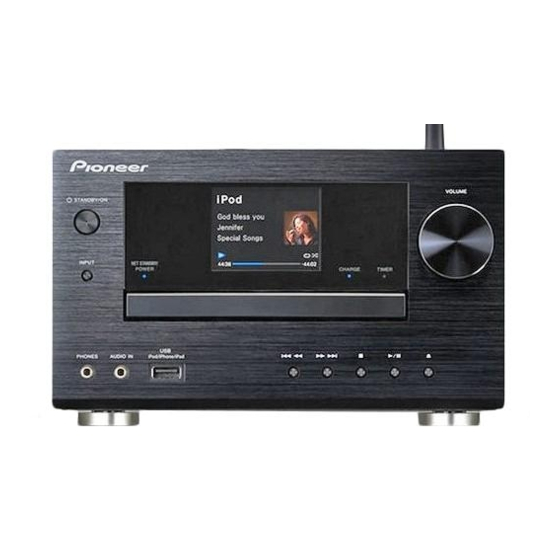
Pioneer X-HM81-S Panduan Petunjuk Pengoperasian - Halaman 10
Jelajahi secara online atau unduh pdf Panduan Petunjuk Pengoperasian untuk Penerima Mobil Pioneer X-HM81-S. Pioneer X-HM81-S 42 halaman. Network cd receiver system
Juga untuk Pioneer X-HM81-S: Panduan Memulai Cepat (33 halaman)

2
2
To select Line function:
•
On main unit: Press INPUT button repeatedly until Line is
displayed.
•
On remote control: Press LINE button.
Connecting USB storage devices
It is possible to listen to two-channel audio using the USB/
iPod/iPhone/iPad terminal on the front of this receiver.
1
Connect your USB device to the USB/iPod/iPhone/iPad
terminal on the front panel of this receiver.
•
This receiver does not support a USB hub.
STANDBY/ON
INPUT
NET STANDBY/
POWER
CHARGE
USB
PHONES
AUDIO IN
iPod/iPhone/iPad
USB storage device
(commercially available)
Connecting to the network through the LAN
interface or WLAN antenna
By connecting this receiver to the network via the LAN
interface, you can play back audio files stored on components
on the network, including your PC, and listen to Internet radio
stations.
Connect the LAN terminal on this receiver to the LAN terminal
on your router (with or without the built-in DHCP server
function) with a straight LAN cable (CAT 5 or higher). Also
wireless connection to the network is possible.
Turn on the DHCP server function of your router. If your router
does not have a built-in DHCP server function, you have to set
up the network manually. For details, see page 24.
Note
•
To use services such as Internet radio, you must conclude
a contract with an Internet service provider.
•
Photo or video files cannot be played back.
10
•
With Windows Media Player 11 or 12, you can even play
back copyrighted audio files on this receiver.
Connecting using LAN cable
VOLUME
TIMER
This receiver's rear
Connecting using wireless LAN
Internet
Router
PC
Modem
Internet
LAN cable
Router
(commercially
LAN
3
2
1
WAN
available)
PC2
PC1
R
LAN (10/100)
panel
Modem
LAN
3
2
1
WAN
VOLUME
STANDBY/ON
INPUT
NET STANDBY/
POWER
CHARGE
TIMER
USB
PHONES
AUDIO IN
iPod/iPhone/iPad
Connecting your equipment
Connecting to auxiliary component
Connect the front panel AUDIO IN mini-plug jack to your
auxiliary playback component.
This method can be used to play music on this receiver from
iPod/iPhone/iPad that do not support use of an iPhone dock.
Digital audio player, etc.
Stereo mini-plug cable
(commercially available)
VOLUME
STANDBY/ON
INPUT
NET STANDBY/
POWER
CHARGE
TIMER
USB
PHONES
AUDIO IN
iPod/iPhone/iPad
If the AUDIO IN mini-plug jack is connected to auxiliary
phones jack, the volume of the receiver will be adjusted by the
volume on the playback component. If the sound is distorted
after you lower the volume of the receiver, try lowering the
volume on the auxiliary playback component.
Plugging in
Before making or changing the connections, switch off the
power and disconnect the power cord from the AC outlet.
After you've finished making all connections, plug the
receiver into an AC outlet.
Power cord
To AC outlet
This receiver's rear
panel
