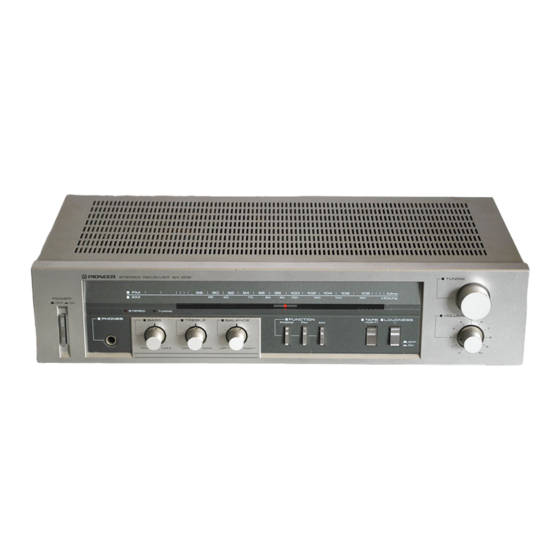
Pioneer ARP-230-0 Panduan Servis - Halaman 19
Jelajahi secara online atau unduh pdf Panduan Servis untuk Penerima Pioneer ARP-230-0. Pioneer ARP-230-0 22 halaman.

1 1 . D I A L C O R D S T R I N G I N G
1. Remove the bonnet.
2. Remove the tuning drum
tuning capacitor.
3. fie one end of the cord
inside the tuning dmm.
4. Rotate the tuning capacitor right around until
the rotor blades are fully intermeshed.
5. Secure the tuning drum back onto the tuning
capacitor shaft, making sure that the securing
screw B faces directly upward.
6. Pass the cord out through the small opening in
the circumference of the tuning drum (see
diagram), and then take it over pulleys C and D
in that sequence.
7. Wind the cord around the tuning shaft 3 times.
8. Pass it over pulley E, wind it around the tuning
dmm 1 time, and finally tie it to the spring
hook F so that it is tensioned.
9. Tum the tuning shaft, ild
check that the cord
moves smoothly.
10. Cut off any excess cord.
11. Turn
the
tuning
shaft
counter-clockwise
as far as it will go.
12. Align the dial pointer with the starting point
of the dial scale, and then pass the cord over
it.
13. Check that the dial pointer is in line with the
starting point of the dial scale.
14. Finally apply the locking paint to the cord
securing positions (stud A and spring hook F)
and the dial pointer connection.
Starting point
I
I
t-T-t-l
r
g
I
I
D i a l p o i n t e r
from the shaft of the
to the stud A located
E nvr
T u n i n g d r u m
