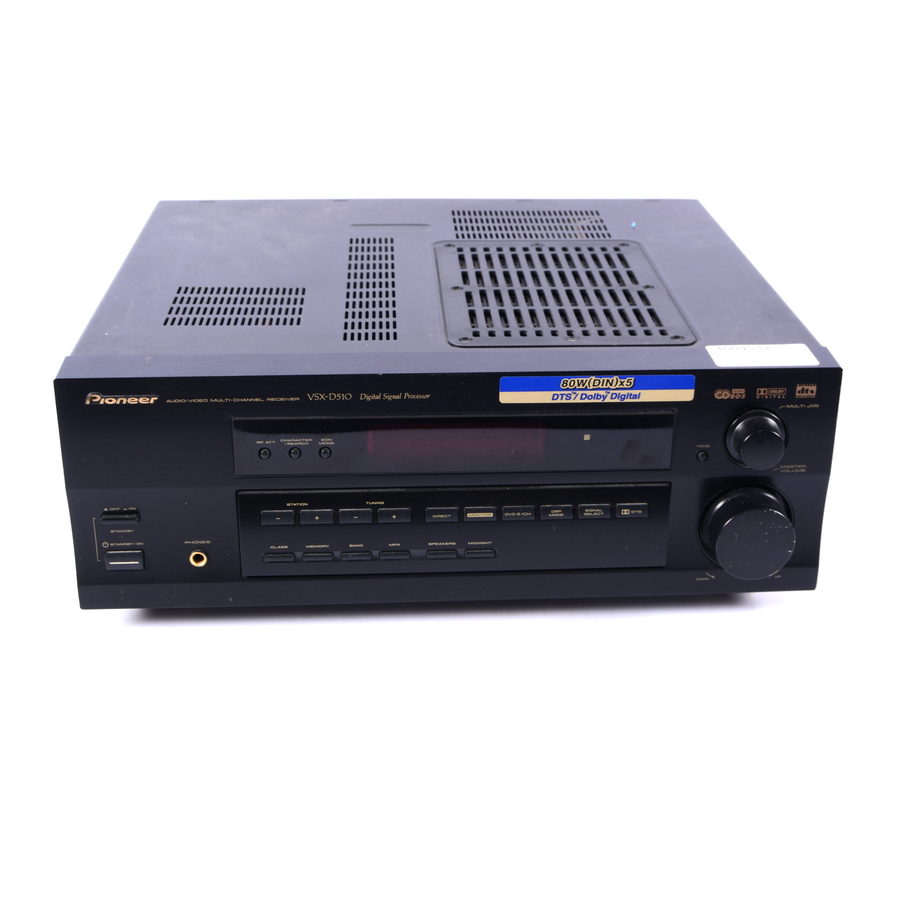
Pioneer VSX-D510 Panduan Petunjuk Pengoperasian - Halaman 11
Jelajahi secara online atau unduh pdf Panduan Petunjuk Pengoperasian untuk Penerima Pioneer VSX-D510. Pioneer VSX-D510 40 halaman. Audio/video multi-channel receiver
Juga untuk Pioneer VSX-D510: Panduan Petunjuk Pengoperasian (36 halaman), Panduan Servis (14 halaman)

Preparations
Setting Up for Surround Sound
Switch the power of this unit on (The STANDBY
indicator goes out).
To ensure the best possible surround sound, be sure to
complete the following set up operations. This is
particularly important when using the 2 (Dolby)
surround mode. You only need to make these settings
once (unless you change the placement of your current
speaker system or add new speakers, etc.). Refer to the
following pages for detailed descriptions of the settings
available for each mode.
MULTI CONTROL
DVD/LD TV/SAT VCR/DVR
2
RECEIVER TUNER
2
DSP MODE MIDNIGHT 5.1CH
1
2
CHANNEL
TEST
SELECT
TONE
5
6
CHANNEL
LEVEL
9
0
FUNC
TV CONTROL
VOL
ST
MENU
SOURCE CLASS
D.ACCESS
LOUDNESS FUNCTION MUTING
FL
1
RECEIVER
DIMMER
AUDIO/VIDEO PRE-PROGRAMMED
REMOTE CONTROL UNIT
1 Press
RECEIVER
The STANDBY indicator goes out.
2 Press
.
RECEIVER
This switches the remote to the receiver mode.
3 Press @ or # to select the mode you want to
set.
For best results, start with "SPEAKERS setting mode"
and make your initial adjustments in the order
described below.
The current settings are displayed automatically.
• SPEAKERS (Front, Center, Surround) setting
mode (page 12)
Use to specify the number and type of speakers you
have connected.
• SUBWOOFER ON/PLUS/OFF setting mode (page
12)
Use to specify the subwoofer as on, plus or off.
Î
CD
CD-R/
TV CONT
TAPE/MD
3
4
SIGNAL
ATT
SELECT
7
8
EFFECT
10
DISC
CH
VOL
FQ
4
ST
ENTER
TOP
MENU
FQ
MPX
BAND
3
CHANNEL
DISPLAY RF ATT
REMOTE
MASTER
SETUP
VOLUME
to turn the power on.
• Crossover frequency setting mode (page 12)
Use to determine which frequencies will be sent to
the subwoofer (or "Large" speakers if you don't have a
subwoofer).
• LFE attenuator setting mode (page 13)
Use to specify the peak level for the LFE channel and
the crossover network for rerouted bass frequencies.
• Low cut filter ON/OFF setting mode (page 13)
Use to cut the distorted sound from the subwoofer.
• FRONT speakers distance setting mode (page 13)
Use to specify the distance from your listening
position to your front speakers.
• CENTER speakers distance setting mode (page
13)
Use to specify the distance from your listening
position to your center speaker.
• SURROUND speakers distance setting mode
(page 14)
Use to specify the distance from your listening
position to your surround speakers.
• Dynamic range control setting mode (page 14)
Use to compress the dynamic range of the sound
track.
• Dual mono setting mode (page 14)
Use with 2 Digital software that has dual mono
encoding if you want to isolate one channel or listen
in this specialized mono mode.
• Coaxial digital input setting (page 14)
Use to specify the component to be assigned to the
coaxial digital input.
• Optical digital input setting 1 (page 15)
Use to specify the component to be assigned to the
optical digital input.
• Optical digital input setting 2 (page 15)
Use to specify the component to be assigned to the
optical digital input.
4 Press % or fi to select the setting you want.
The setting is entered automatically.
5 Repeat steps 3 and 4 to set other surround
modes.
MEMO:
Press
to exit the setting mode.
ENTER
The setting mode is automatically exited if no operation
is performed within 20 seconds.
04
11
En
