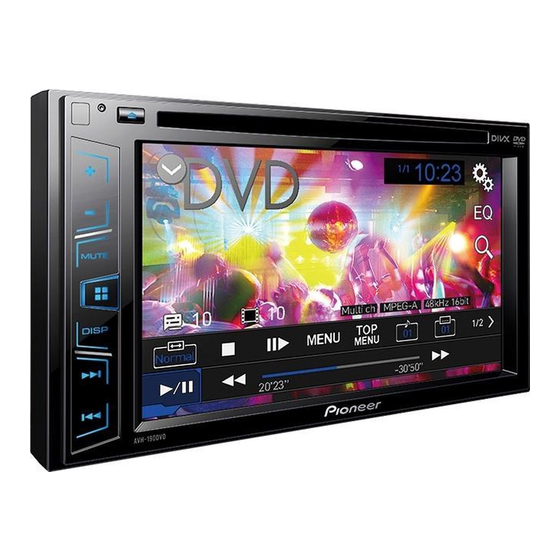
Pioneer AVH-190DVD Panduan Pengoperasian - Halaman 4
Jelajahi secara online atau unduh pdf Panduan Pengoperasian untuk Penerima Stereo Pioneer AVH-190DVD. Pioneer AVH-190DVD 38 halaman. Dvd rds av receiver
Juga untuk Pioneer AVH-190DVD: Panduan Pemilik (49 halaman), Panduan Memulai Cepat (33 halaman), Panduan Pemilik (45 halaman), Panduan Instalasi (45 halaman)

Precaution
WARNING
NEVER install the rear display in a location that enables the
driver to watch video images while driving.
To avoid battery exhaustion
Be sure to run the vehicle engine while using this product. Using
this product without running the engine can drain the battery.
WARNING
Do not install this product in a vehicle that does not have an
ACC wire or circuitry available.
Rear view camera
With an optional rear view camera, you are able to use this
product as an aid to keep an eye on trailers, or backing into a
tight parking spot.
WARNING
SCREEN IMAGE MAY APPEAR REVERSED.
USE INPUT ONLY FOR REVERSE OR MIRROR IMAGE
REAR VIEW CAMERA. OTHER USE MAY RESULT IN
INJURY OR DAMAGE.
CAUTION
The rear view mode is to use this product as an aid to keep
an eye on the trailers, or while backing up. Do not use this
function for entertainment purposes.
Handling the USB connector
CAUTION
To prevent data loss and damage to the storage device,
never remove it from this product while data is being
transferred.
Pioneer cannot guarantee compatibility with all USB mass
storage devices and assumes no responsibility for any loss
of data on media players, iPhone, smartphone, or other
devices while using this product.
In case of trouble
Should this product fail to operate properly, contact your dealer
or nearest authorised Pioneer Service Station.
4
Visit our website
Visit us at the following site:
http://www.pioneer-car.eu
Register your product. We will keep the details of your pur-
chase on file to help you refer to this information in the event
of an insurance claim such as loss or theft.
We offer the latest information about PIONEER
CORPORATION on our website.
Pioneer regularly provides software updates to further
improve it's products. Please check the support section of
the Pioneer website for all available software updates.
About this product
This product does not work correctly in areas other than
Europe. The RDS (Radio Data System) function operates only
in areas with FM stations broadcasting RDS signals. The
RDS-TMC service can also be used in the area where there is
a station that broadcasts the RDS-TMC signal.
The Pioneer CarStereo-Pass is for use only in Germany.
Protecting the LCD panel and
screen
Do not expose the LCD screen to direct sunlight when this
product is not used. This may result in LCD screen malfunc-
tion due to the resulting high temperatures.
When using a mobile phone, keep the aerial of the mobile
phone away from the LCD screen to prevent disruption of the
video in the form of spots, coloured stripes, etc.
To protect the LCD screen from damage, be sure to touch the
touch panel keys only with your finger and do so gently.
Notes on internal memory
Before removing the vehicle battery
Some of the settings and recorded contents will not be reset.
Data subject to erasure
The information is erased by disconnecting the yellow lead from
the battery (or removing the battery itself).
Some of the settings and recorded contents will not be reset.
Resetting the microprocessor
CAUTION
Pressing the RESET button resets settings and recorded
contents to the factory settings.
Do not perform this operation when a device is connected
to this product.
Some of the settings and recorded contents will not be
reset.
The microprocessor must be reset under the following
conditions:
Prior to using this product for the first time after installation.
If this product fails to operate properly.
If there appears to be problems with the operation of the
system.
If your vehicle position is shown on the map with a signifi-
cant positioning error.
1 Turn the ignition switch OFF.
2 Press the RESET button with a pen tip or other
pointed implement.
Checking part names and functions on page 5
Settings and recorded contents are reset to the factory settings.
About this manual
This manual uses diagrams of actual screens to describe opera-
tions. However, the screens on some units may not match those
shown in this manual depending on the model used.
Meanings of Symbols Used in This
Manual
This indicates model name that are supported
000BT
the described operations.
This indicates to touch an appropriate soft key
on the touch screen.
This indicates to touch and hold an appropriate
HOLD
soft key on the touch screen.
This indicates that there is a reference or
supplementary for the key or screen.
