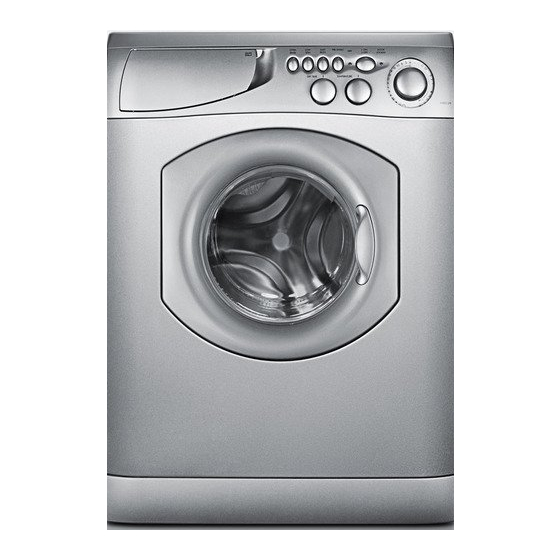
Ariston AW120 Instructions for and use Manual Perbaikan - Halaman 11
Jelajahi secara online atau unduh pdf Manual Perbaikan untuk Mesin cuci Ariston AW120 Instructions for and use. Ariston AW120 Instructions for and use 20 halaman. Washer / washer-dryer combo

- 1. Table of Contents
- 2. Model & Serial Number Locations
- 3. Top Panel
- 4. Control Panel
- 5. Control Panel Components
- 6. Toe Kick & Drain Motor
- 7. Drum Boot
- 8. Door Switch
- 9. Water Valves
- 10. Heater Assembly (AWD 120 / 121 / 129 Only)
- 11. Pressure Switch
- 12. Rear Access Panel
- 13. Control Board
- 14. Main Motor
- 15. Fault Codes
- 16. Schematics
7. DOOR SWITCH
Fig. 7-1
8. WATER VALVES
• To remove either Water Valve, first remove its rear mounting screw (Fig. 8-1), then remove the Top Panel as described in Section 2.
Then remove the two (2) Phillips screws for the Valve being replaced (Fig. 8-3). When you remove the valve be careful that you also
remove the Valve Seal (Fig. 8-2) which may still be inserted into the Dispenser Housing. It will be easier to mount the new Water
Valve into the Dispenser Housing if the Valve Seal is already fitted to the Water Valve when replaced.
REPAIR MANUAL
• To remove the Door Switch, remove the two (2) T-15 Torx screws (Fig. 7-1). Then remove the
Top Panel as described in Section 2. With the Top Panel removed disconnect the wire harness
from the Door Switch and replace (Fig. 7-2).
Fig. 8-1
Fig. 8-2
AW 120 / AW 122 / AW 125
AWD 120 / AWD 121 / AWD 129
Fig. 7-2
Fig. 8-3
Page: 8
