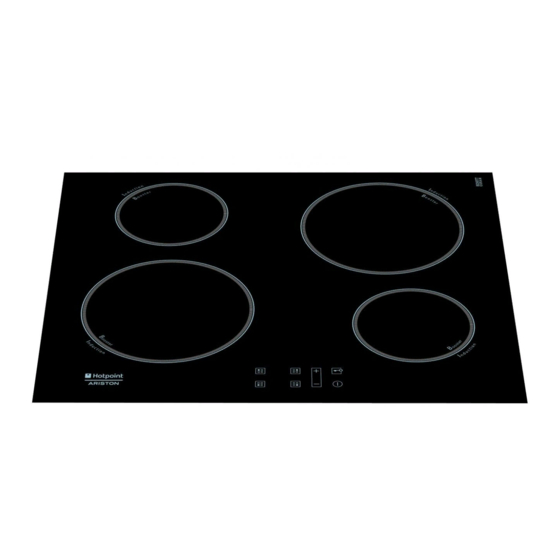
Ariston KIB 644 C E IT Panduan Petunjuk Pengoperasian - Halaman 6
Jelajahi secara online atau unduh pdf Panduan Petunjuk Pengoperasian untuk Kompor Ariston KIB 644 C E IT. Ariston KIB 644 C E IT 24 halaman.

• Loud whistle: heard when two induction elements of
GB
the same group function simultaneously at maximum
power and/or when the booster function is set on
the larger element while the other is auto-adjusted.
Noise is reduced by decreasing the power level of the
auto-adjusted induction element; pot bottom layers
made of different kinds of materials are among the
main causes of this noise.
• Fan noise: a fan is necessary to ensure the hob functions
correctly and to safeguard the electronic unit from
possible overheating. The fan functions at maximum
power when the large induction element is at maximum
power or when the booster function is on; in all other
cases, it works at average power depending on the
temperature detected. Furthermore, the fan may continue
to work even after switching the hob off, if the temperature
detected is high.
The types of noise listed above are due to induction
technology and are not necessarily operational faults.
If the (-) or (+)button is pressed for an extended period
!
of time, the display scrolls quickly though the power
levels and timer minutes.
Initial Light Conditions
When power is initially applied to the Cooktop, the to-
uch control conducts a calibration process for the to-
uch keys, which requires a low level of ambient light in
the area of the touch keys.
If during this calibration process excessive ambient
lighting is detected the User Interface displays „FL"
(Infrared Ambient Light Error) and the control cali-
bration process is suspended. In order to rectify the
process any lighting that could effect the calibration
process should be switched off (e.g. halogen cooker
hood lighting). The error will disappear when satisfac-
tory ambient lighting is detected and the touch control
calibration procedure will now complete satisfactorily.
-The „FL" error can only be generated within approx 3s
of initial power being applied to the cooktop.
-We recommend that the user switches off all cooker
hood lighting and lighting directed towards the cook-
top when power is initially applied to the cooktop.
-After the touch control has conducted its initial cali-
bration process, (approx 3s) any cooker hood or other
lighting can be switched on as normal and will not af-
fect the operation of the touch control.
Switching on the hob
When power is initially applied to the Cooktop, the
touch control conducts a calibration process for the
touch keys, which requires a low level of ambient
light in the area of the touch keys. If excessive am-
bient lighting is detected, the User Interface displo-
6
ays „FL" error and the calibration is suspended. The
error will disappear when satisfactory ambient ligh-
ting is detected and the touch control calibration pro-
cedure will now complete satisfactorily
After connecting the hob to the electricity mains, the
touch pannel might be automatically locked. To un-
clock the pannel press and hold the Control Panel
Loock button
.
To switch the hob on, press and hold the
approximately one second.
The cooktop is switched On when a beep sound is
emmited and all the cooking zones displays show
the digit point.
When the cooktop is OFF, after 5 sec the control
switches off the KEYLOCK LED to reduce the power
consumption.
As soon as we touch a key, the KEYLOCK LED goes
ON and we can continue to use the cooktop, unlocking
the keyboard.
Switching off the cooktop is signalled by 3 beep sound
Setting the Power Management
The Cooktop maximum power limit (2800W) can be re-
duced by the user to 2200W, 1600W or 1000W.
! Power limit selection is possible only during the first 30
seconds after connection of the appliance to the mains,
with the childlock function unlocked, and with all the co-
okig zones switched off.
The sequence to set a new Cooktop Power Limit is:
1. Press and hold simultaneously the buttons correspon-
ding to the front-left and the front-right cooking zones:
2. Select the desired power level by pressing the
(+) and (-) buttons,
3. Save the selected power level by pressing simultane-
ously the buttons corresponding to the aforementioned
cooking zones.
·Once this is done, new Cooktop Power Limit is recor-
ded and there is a system reset.
·If during 60 seconds there is no action, changes are not
recorded and there is a system reset.
button for
.
