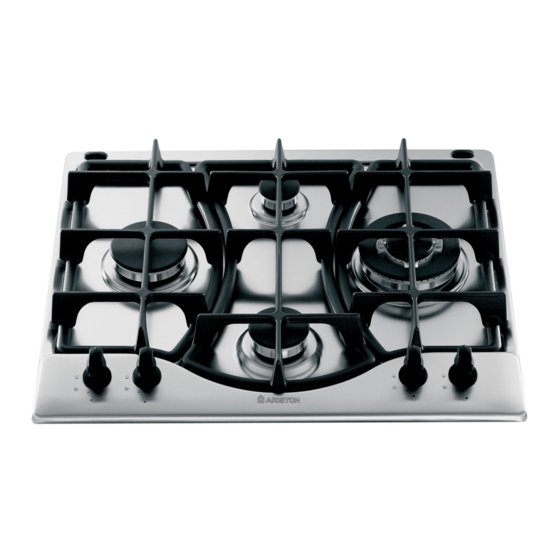
Ariston PH640MST NG Panduan Petunjuk Pengoperasian - Halaman 3
Jelajahi secara online atau unduh pdf Panduan Petunjuk Pengoperasian untuk Kompor Ariston PH640MST NG. Ariston PH640MST NG 12 halaman.
Juga untuk Ariston PH640MST NG: Panduan Petunjuk Pengoperasian (12 halaman)

Hooking position
for top H=40 mm
! Use the hooks contained in the "accessory pack"
• Where the hob is not installed over a built-in oven, a
wooden panel must be installed as insulation. This must
be placed at a minimum distance of 20 mm from the
lower part of the hob.
Ventilation
To ensure adequate ventilation, the back panel of the
cabinet must be removed. It is advisable to install the oven
so that it rests on two strips of wood, or on a completely flat
surface with an opening of at least 45 x 560 mm ( see
diagrams ).
When installing the cooktop above a built-in oven
without forced ventilation, ensure that there are air
inlets and outlets for ventilating the interior of the
cabinet adequately.
Electrical connection
Hobs equipped with a three-pole power supply cable are
designed to operate with alternating current at the voltage
and frequency indicated on the data plate (this is located on
the lower part of the appliance). The earth wire in the cable
has a green and yellow cover. If the appliance is to be
installed above a built-in electric oven, the electrical
connection of the hob and the oven must be carried out
separately, both for electrical safety purposes and to make
extracting the oven easier.
Front
Back
Connecting the supply cable to the mains
Fit the supply cord with a standard plug for the
demand rate indicated on the rating plate or connect
it directly to the electrical mains. In the latter case, a
single pole switch must be placed between the
appliance and the mains, with a minimum opening
between the contacts of 3 mm in compliance with
current safety codes (the earthing wire must not be
interrupted by the switch). The power supply cord
must be positioned so that it does not reach a
temperature in excess of 50°C above room
temperature at any point.
Before making the actual connection, make sure
that:
• The fuse and electrical system can withstand the
load required by the appliance;
• That the electrical supply system is equiped with
an efficient earth hook-up according to the norms
and regulations prescribed by law;
• That the plug or switch is easily accessible.
! the wires in the mains lead are coloured in
accordance with the following code:
Green & Yellow
Blue
Brown
As the colours of the wires in the mains lead may
not correspond with the coloured markings
identifying the terminals in your plug, proceed as
follows:
Connect the Green & Yellow wire to the terminal
marked "E E E E E " or
or coloured Green or Green &
Yellow.
Connect the Brown wire to the terminal marked "L L L L L " or
coloured Red.
Connect the Blue wire to the terminal marked "N N N N N " or
coloured Black.
! Once the appliance has been installed, the power supply
cable and the electrical socket must be easily accessible.
! The cable must not be bent or compressed.
! The cable must be checked regularly and replaced by
authorised technicians only ( see Assistance ).
! The manufacturer declines any liability should these safety
measures not be observed.
Gas connection
The appliance should be connected to the main gas supply
or to a gas cylinder in compliance with current national
regulations. Before carrying out the connection, make sure
the cooker is compatible with the gas supply you wish to
use. If this is not the case, follow the instructions indicated in
the paragraph "Adapting to different types of gas."
When using liquid gas from a cylinder, install a pressure
regulator which complies with current national regulations.
- Earth
- Earth
- Earth
- Earth
- Earth
- Neutral
- Neutral
- Neutral
- Neutral
- Neutral
- Live
- Live
- Live
- Live
- Live
GB
3
