Firenzo LADY KITCHENER RU Manual - Halaman 7
Jelajahi secara online atau unduh pdf Manual untuk Kompor kayu Firenzo LADY KITCHENER RU. Firenzo LADY KITCHENER RU 15 halaman. Freestanding woodburner
5. ASSEMBLY INSTRUCTIONS
1. Remove all packaging and timber.
2. Remove loose parts from inside the firebox.
3. Position the base with angle steel down onto the floor protector, taking the necessary final
clearance into consideration. The base has the flue centre indicated on the flat steel bracket.
These measurements coincide with the figures on page 4 for the heater clearances when
assembled.
4. At this point a hole in the ceiling to accommodate the flue may be cut and the liners
installed.
5. Remove both front and rear top castings.
6. Place firebox on base. Secure with brackets provided.
7. Fit the wetback, if allowable, in accordance with accepted plumbing practice - please refer to
page 10. Ensure wetback is NOT pushed down; if it touches or comes in contact with the baffle
bricks this will cause wear which will void your warranty.
If NO wetback is to be fitted please ensure that blanking plugs are attached to the two holes in
the rear of the upper chamber.
8. Replace the rear top casting and refit the front top casting ensuring it fits neatly into the
sealed channel.
9. Refit the stainless steel flue shim in the top rear section of the firebox.
10. Assemble and fit flue and flue shield as per instructions (page 11).
11. Secure the wood-burner to the floor protector for seismic restraint (refer instructions on
page 13). DUE TO NZ BEING AN EARTHQUAKE PRONE COUNTRY, IT IS IMPORTANT
TO ANCHOR THE FIRENZO FIRE DOWN IN CASE OF EARTH MOVEMENT.
12. BRONTE FIRE ONLY: Fit the cook top grill on the rear casting of the BRONTE fire.
Attach it to the heatshield on the rear of the fire with the bolts provided.
13. CONTESSA FIRE ONLY: If reducing clearance A from 130mm to 100mm as on page 5
then you will need to fit the cook top grill onto the rear casting of the CONTESSA fire. Attach
it to the heatshield on the rear of the fire with the bolts provided.
13. Assemble and fit the decorative rails.
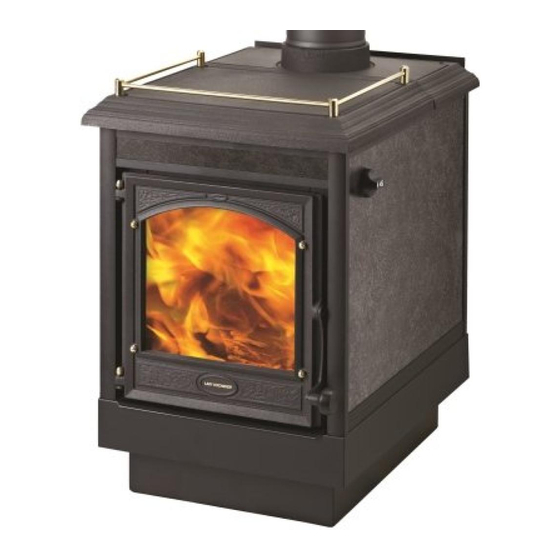
14. Fit handle as shown on diagram ►
15. Fit the control knob - place the flat on the knob to the flat on the
air control shaft situated on the right handside of the fire. Press home firmly.
6