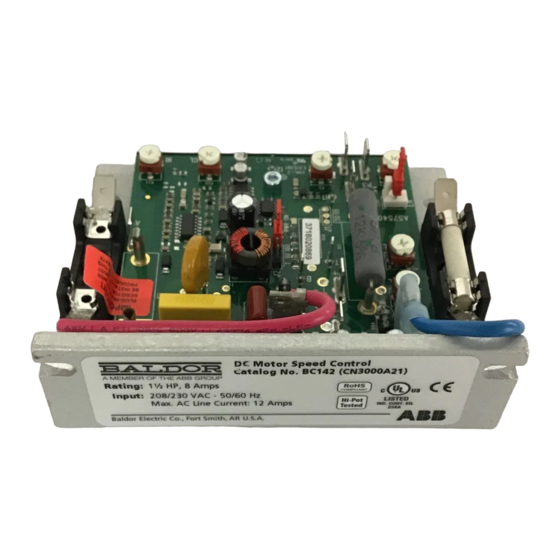
ABB Baldor BC142-5 Panduan Pemasangan & Pengoperasian - Halaman 13
Jelajahi secara online atau unduh pdf Panduan Pemasangan & Pengoperasian untuk Unit Kontrol ABB Baldor BC142-5. ABB Baldor BC142-5 20 halaman. Dc control

Notes:
1. The deceleration time can only be made longer than the normal coasting time of the load.
2. If the BC152, Signal Isolator option board is installed onto the BC141, or BC142 control, the
ENABLE circuit will not funciton as described. If an ENABLE feature is required for the application,
connect a N.O. (normally open), contact or switch between the speed adjust potentiometer wiper
lead, or voltage following input signal, and the SIG terminal of TB1. When the contact or switch is
closed, the motor will accelerate to set speed. When the contact or switch is opened, the motor will
decelerate to zero speed at a rate set with the DECEL trimpot.
Figure 2-6 Enable Switch Or Contact Wired To The Main Speed Potentiometer
Main Speed Potentiometer
Inhibit Circuit Connection
The control can be stopped and started with an Inhibit Circuit (close to stop). Wire the switch or
contact to Terminals I1 and I2. When the switch or contact is closed, the motor will coast to stop.
When the switch or contact is opened, the motor will accelerate to the Main Speed Potentiometer
setting. An open collector (NPN) can be connected in lieu of a switch or contact.
The Inhibit Circuit is never to be used as a Safety Disconnect since it is not fail-safe.
Figure 2-7 Inhibit Switch Or Contact Wired To The Inhibit Terminals
DC Tachometer Connection
A DC tachometer can be used for load regulation of 1% of the set speed.
Jumper J2 must be set to the T position for tachometer operation.
Notes
1. The tachometer input circuit is designed for a 7 Volt or 50 Volt per 1000 RPM DC tachometer used
with an 1800 RPM motor.
2. Initially set the IR Comp Trimpot fully counterclockwise. Once the tachometer is connected, the IR
Comp Trimpot may be increased for additional speed stabilization.
2-6
This jumper must
be installed
MAX
Enable Switch or Contact
(Close to Run)
(Open to Stop)
High
Wiper
Low
(Front View)
Terminal "I1"
I1
MIN
Inhibit Switch or Contact
(Open to Run)
(Close to Stop)
Terminal "P3"
P2
Terminal "P2"
P3
P1
Terminal "P1"
High
Wiper
Low
Main Speed Potentiometer
(Front View)
Terminal "I2"
I1
I2
I2
MIN
Open Collector
(On to Stop)
P2
P3
P1
MAX
Open Collector
(On to Run)
MN704
