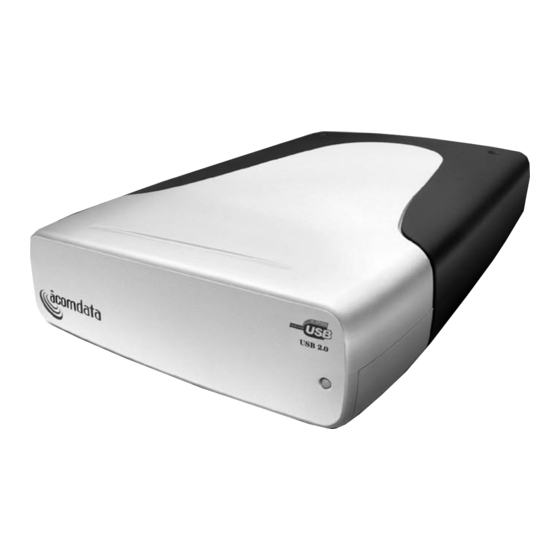
Acomdata External HARD DRIVE USB 2.0 Panduan Pengguna - Halaman 8
Jelajahi secara online atau unduh pdf Panduan Pengguna untuk Penyimpanan Acomdata External HARD DRIVE USB 2.0. Acomdata External HARD DRIVE USB 2.0 17 halaman.

F
ORMATTING YOUR
E
H
D
XTERNAL
ARD
It is not necessary to format your AcomData External Hard
Drive. It was formatted at the factory with the FAT 32 file
system, which makes the Drive both PC and Mac compat-
ible. We provide formatting instructions in the event that
you need to reformat your Drive, or if you want to format
your Drive with a file system other than FAT 32.
Reformatting Options for PC Users
If you are running Windows 2000 or XP and do not plan to
use the Drive on a Mac or on Windows 95 or ME, consid-
er reformatting your Drive with the NTFS file system. NTFS
provides several advantages over FAT 32, including support
for files larger than 4 GB.
Reformatting Options for Mac Users
If you plan to use the Drive only on a Mac, consider refor-
matting your Drive with the Mac OS Extended file system.
Reformatting the Drive for Cross-Platform Compatibility
If you ever need to reformat your Drive and you need PC
and Mac compatibility, you have two recommended options:
1. Format the Drive on a PC with the FAT 32 file system (if
this option is available with your operating system).
2. Format the Drive on Mac OS X v.10.3.x or later with the
DOS file system.
Although it is possible to format a hard drive on earlier
versions of Mac OS X and on Mac OS 9 using the DOS file
system, we do not recommend this, as an artificial capacity
limit may be imposed on the Drive and performance will be
unpredictable.
Formatting a hard drive erases all data contained on the
drive. If you wish to reformat your AcomData External
Hard Drive, be sure to save a copy of the files you wish
to keep to another storage device before reformatting.
12
A
D
COM
ATA
RIVE
Formatting the Drive in
Windows 98SE/ME
1. Double-click on the My Computer icon. In the My
Computer window you should see an icon and drive letter
for the External Hard Drive. (If you are not sure which icon
represents the External Hard Drive, turn off the Drive and
see which icon disappears. Then turn the Drive back on
and wait for the icon to reappear.)
2. Right-click on the drive letter and select Format. In the
Format window, verify the Drive's capacity; it should be
close to the stated capacity of your Drive in megabytes.
3. Under Format type, Select Full; everything else should
be left at the default setting. In the Label field under Other
options you may assign a name to the External Hard Drive.
(The name you assign is limited to 8 characters and no
symbols are allowed.)
4. Click Start. The following warning message will appear:
"This device is either a hard disk or a large removable disk.
Formatting it will destroy all files currently on the drive. Are
you sure you want to format this drive?" If no data was
previously written to the Drive or you already backed up the
data you wish to keep, click OK.
5. If you see a warning message from an antivirus pro-
gram, click Exclude.
6. When formatting is complete, you will be asked to run a
thorough Scandisk. Periodically running Scandisk is a part
of regular hard drive maintenance. If you do not wish to run
Scandisk at this time, close the format window.
13
