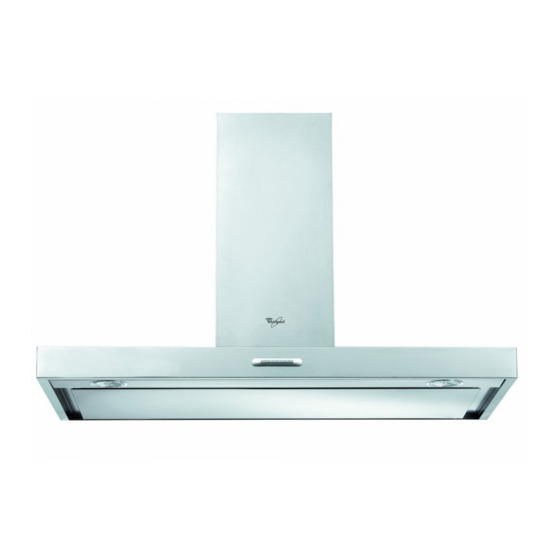
Whirlpool AKR 995/1 Panduan Pengguna dan Pemeliharaan - Halaman 9
Jelajahi secara online atau unduh pdf Panduan Pengguna dan Pemeliharaan untuk Kap Ventilasi Whirlpool AKR 995/1. Whirlpool AKR 995/1 20 halaman.
INSTALLATION - ASSEMBLY INSTRUCTIONS
The following instructions, given in numerical order, refer to the figures on the last pages of this manual.
Note: Some instructions differ according to the hood body width and height, in which case installation differences are given in the text and in the figures.
1. Pull the panel (FRONT) firmly downwards.
2. Push the small lever (located in the right part of the panel) to the left.
3. Release it from the rear supports.
4. Mark a line on the wall up to the ceiling, corresponding to the centre line.
5. Cut the template at the line H6 and place the drilling diagram on the wall (fix it with adhesive tape): the vertical centre line printed on the drilling diagram
must match the centre line drawn on the wall, and the lower edge of the drilling diagram must match the lower edge of the hood.
Drill a hole.
6. Remove the drilling diagram and insert plugs and screws as shown.
7. Partially tighten the screws
8. Place the flue support bracket on the wall and against the ceiling. Drill and insert the wall plugs as shown. Fix the bracket.
9. For Extractor Version only - rear exhaust outlet: Make a hole in the rear wall for the exhaust pipe.
10. For Extractor Version only - ceiling exhaust outlet: Make a hole in the ceiling for the exhaust pipe.
11. Prepare the connection to the household electrical system.
12. For Filter Version only: Fix the deflector to the flue support bracket.
13. Remove the tape holding the control electronics box to the motor body.
Note: The figure is only a guide, and the box may be temporarily fixed to other sides of the motor body.
14. Remove the grease filter(s) (one or more filters, depending on the model).
15. Hook the hood to the wall.
16. Adjust the hood horizontally.
17. Adjust the distance between the hood and wall.
18. Mark the hole(s) for final fixing of the hood as shown.
19. Remove the hood from the wall.
20. Drill and insert wall plugs as shown.
21. Rehook the hood on the wall.
22. Fix the hood to the wall with screws as shown.
23. Fix the collar to the exhaust outlet hole.
24. Secure the box with the screws already pre-tightened to the motor body.
Note: The box is of two types, with front fixing or rear fixing. Follow the instructions in the figures (24a and 24b) depending on your model.
25. Fit the power cable in the special housing.
26. Secure the cable to the cable clamp.
IMPORTANT: This operation is compulsory, and is to prevent accidental disconnection of the power cable.
Carry out the connection to the household electrical system.
27. Connect the fume exhaust pipe to the collar; the pipe must be run towards the outside (extractor version) or towards the deflector (filter version).
28. Fit the flues over the extraction unit, in the special seat above the hood.
29. Pull out the top section and fix the flues with the screws as shown.
30. Install the carbon filter (Filter Version only) andrefit the grease filter(s) (one or more filters, depending on the model).
31. Hook the panel to the hood.
32. Secure the panel with the special lever located on the right of the panel.
Note: Make sure the panel is properly secured in place.
33. Turn the panel covering the extraction area, hooking it to the hood by pressing hard.
IMPORTANT: Always check that the panel is firmly fixed in place.
Check correct hood operation, referring to the hood description and use section.
GB9