3Com 4200G Series Panduan Instalasi - Halaman 4
Jelajahi secara online atau unduh pdf Panduan Instalasi untuk Perangkat Keras Jaringan 3Com 4200G Series. 3Com 4200G Series 4 halaman. 3com switch 4200g gigabit family
Juga untuk 3Com 4200G Series: Panduan Produk (13 halaman), Panduan Produk (15 halaman), Panduan Produk (15 halaman), Lembar data (8 halaman), Lembar data (8 halaman)
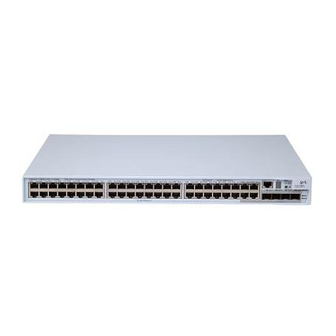
(1): Switch
(3): Small cover plate (removed) in the middle on the filler panel
(4): Push-in direction
Figure 6 Installing a XENPAK optical module
Note: (1) Retain the small cover plate for future use.
(2) Do not tighten the module screws more than 0.4 Nm.
(3) The switch 4200G supports hot swapping of XENPAK
optical modules.
2.3 Removal
Step 1: Put on an ESD-preventive wrist strap and verify it is properly
grounded.
Step 2: Loosen the fastening screws at each side of the XENPAK optical
module using a screwdriver.
Step 3: Pull the XENPAK module until it comes out of the switch chassis.
Copyright © 2006 3Com Corporation. All rights reserved.
3Com Corporation 350 Campus Drive
Marlborough, Massachusetts 01752-3064 USA
www.3Com.com
Part Number: 10014918 Rev. AA
Published July 2006
(2): Filler panels for optional module slots
(5): XENPAK Optical Module
4