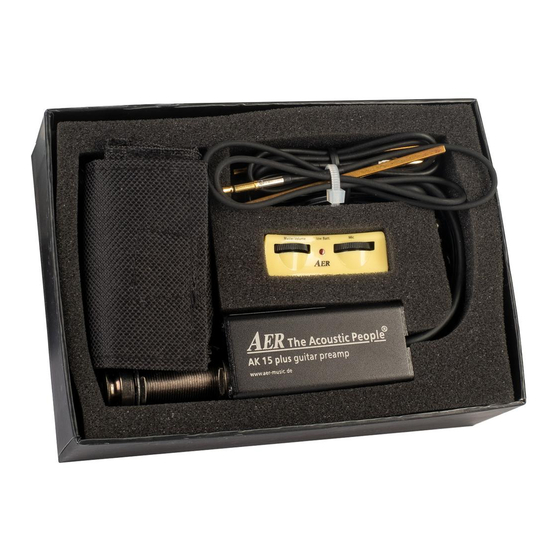
AER AK15 plus Panduan Instalasi - Halaman 8
Jelajahi secara online atau unduh pdf Panduan Instalasi untuk Aksesori Untuk Instrumen Musik AER AK15 plus. AER AK15 plus 12 halaman.
Juga untuk AER AK15 plus: Lembar Instruksi (2 halaman)

2. Check and inspect the guitar
2.1 General Requirements
• Make sure that the bridge is not lifting or
tilted and that the top is not sunken in.
• Check the string spacing, centre to centre of
the string, or middle between a pair, to make
sure it matches the AER pickup.
• Make sure that the saddle has a minimum
width of 2,3 mm. The undersaddle pickup is 2,3
mm wide.
• Check the string pressure on the pickup crystal
by assuring a minimum 20° break angle, if
more all the better. If your instrument does not
provide this, the string slots will need ramping
(done by a luthier).
2.2 Regarding the AK15 plus,
SHC and battery holder
• Check the inside of the guitar to identify
the ideal position for the AK15 plus SHC
(soundhole control) on the bass side of the
soundhole for easy operation while perform-
ing. Bracing around the soundhole differs
between makers and can conflict with the
control unit. Some guitar constructions re-
quire an underlay to glue the SHC on properly.
In any case should the gluing surface be flat
and free of dust or grease.
• Identify the ideal position for the battery
holder according to Battery Holder
Installation
2.3 Regarding the Pickup
• Check that the top bracing does not conflict
with the projected pickup cable hole through
the saddle slot.
• Verify that the slot depth (including pickup)
always remains more than half of the total
saddle height. Not enough space for the sad-
dle can cause bridge cracks. Check with your
qualified luthier.
• Make sure that the pickup fits the slot and
does not tilt within.
• Check the saddle. The materials, bone, Delrin®
and Micarta® require different attention. You
may consider getting a replacement saddle to
work on, keeping the original untouched.
8
The saddle-slot needs to be completely flat
and the saddle rectangular and flat. Even
if both are flat, some adjustments towards
pickup signal balance may be necessary. In
many cases the balance between the strings
of the acoustic instruments is not even – the
pickup just reflects this and needs compen-
sation to increase the string-pressure. Loosen
the strings and clamp them with e.g. a capo
to prevent them hindering you at your task.
Remove the string-pins, the saddle and the
endpin. Depending on what work needs to
be done, use paper masking tape to protect
the surface of your instruments around
bridge and endpin. Always check the tape for
possible residue on your guitar first at a 'safe'
spot ... you never know!
3. Woodwork
1. Drill or ream a 12 mm hole to fit the endpin
pre-amp. Make sure that it is centred prop-
erly and in a 90° angle to the end block.
2. Drill a 2.5 mm hole (for a wider slot use a
wider drill) with a 90° angle through the
saddle slot and the top of the guitar at the
edge of the slot. It is immaterial which side
is drilled, bass or treble side. Avoid hitting
the braces!
For installing the piezo pickup there should
be no routing required if the slot has a regular
length and depth! The width and depth should
be sufficient. Should your guitar require rout-
ing, have it done by a qualified luthier.
Take the piezo pickup and lead the mini-jack
through the hole in the top of the guitar. The
piezo will fit most saddle slots easily, the slot
will not require filling. Make sure that there are
no twists in the cable.
The 6 piezoelectric crystals sit underneath the
strings, they don't have to be centred, but do
need to touch the individual crystal. You can
use the cable as a spring to keep the pickup in
place.
Make sure the saddle slides easily into the slot,
however it should not tilt. Fixate the saddle
with masking tape to protect the piezo pickup
