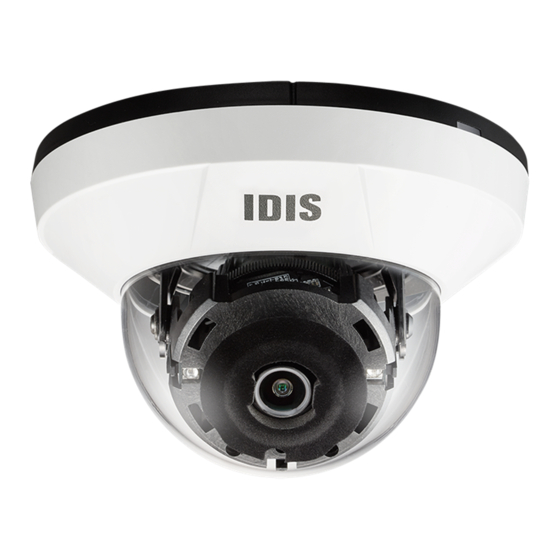
Direct IP Idis DC-D4217RX Panduan Instalasi - Halaman 9
Jelajahi secara online atau unduh pdf Panduan Instalasi untuk Kamera Keamanan Direct IP Idis DC-D4217RX. Direct IP Idis DC-D4217RX 18 halaman.
Juga untuk Direct IP Idis DC-D4217RX: Panduan Cepat (12 halaman)

The following table describes the network cable
specifications.
<The network cable specifications>
Item
Content
Connector RJ-45
Ethernet
10/100 Base
UTP Category 5e or
Cable
higher
Maximum
100m
length
PoE
IEEE 802.3af, Class 2
• Wall/Ceiling Installation Hole
Used to screw the camera in place on a wall or a
ceiling.
• Cable Access Hole
For routing cables.
• Bottom Cover
Allows you to install the camera on a wall or a ceiling.
• IR LED
A sensor inside the system monitors lighting
levels and activates the IR LED during low-lighting
conditions.
• Factory Reset Button
Restores the camera's default factory settings. For
more information, refer to the Factory Reset.
• Status LED
Indicates the system's operating status. For more
information, refer to the LED Status Indications.
LED Status Indications
LED Status
Off
Status LED
Flashing
On
Note
10/100 Mbps
Description
Power not connected
Upgrading
Powered on
Factory Reset
Only use the factory reset button to restore the camera
to its factory default settings.
A factory reset will clear all camera settings configured
by the user.
1
Shut off the power supply.
2
Remove the dome cover.
3
Press and hold the reset button down
4
Hold the button down and apply the power.
5
Once the device turns back on, wait 5 seconds and
then release the reset button.
6
The device will go through the resetting process and
reboot. All camera settings will be restored to their
factory defaults after the reboot.
It's also possible to do a factory reset by pressing and
releasing the reset button while the camera is turned
on or using the IDIS Discovery program from a remote
location. A factory reset will reboot the system. For more
information on factory reset, refer to the IDIS Discovery
operation manual.
Part 1 – Introduction
9
