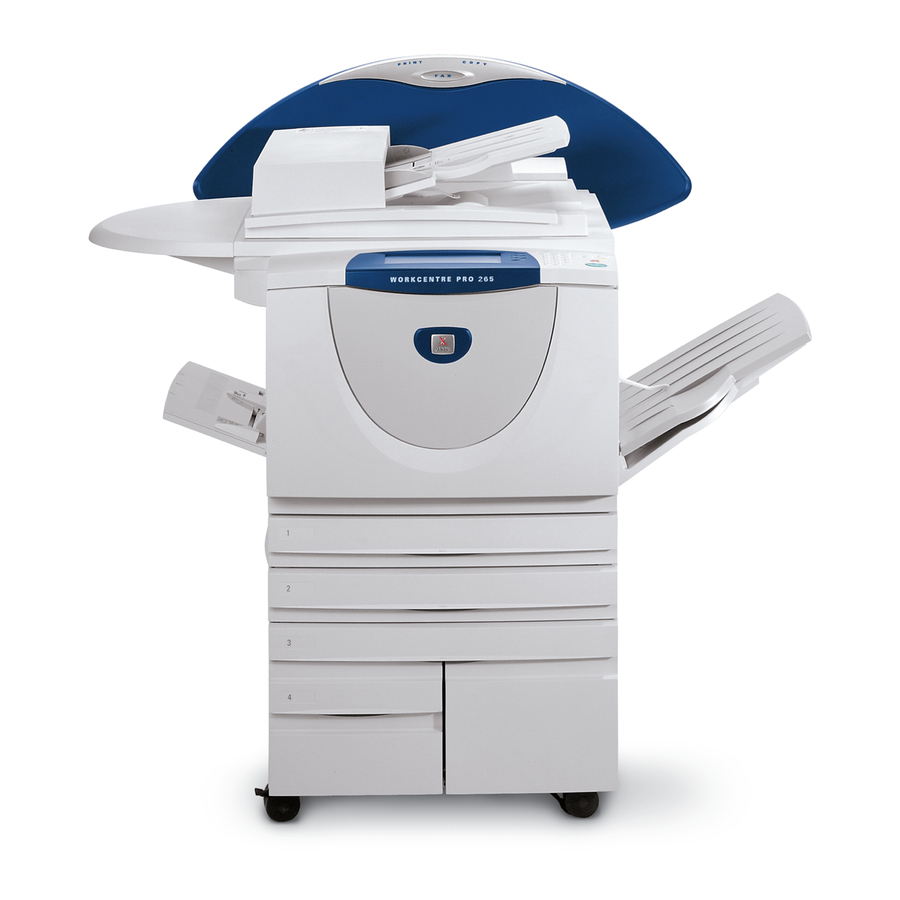
Xerox WorkCentre Pro 75 Panduan Instalasi Jaringan - Halaman 35
Jelajahi secara online atau unduh pdf Panduan Instalasi Jaringan untuk Mesin fotokopi Xerox WorkCentre Pro 75. Xerox WorkCentre Pro 75 42 halaman. Pdl reference guide
Juga untuk Xerox WorkCentre Pro 75: Panduan Memulai Cepat (16 halaman), Panduan Pengguna (24 halaman), Panduan Administrasi Sistem (30 halaman), Panduan Referensi (22 halaman)

E-mail
Public Address Book (Optional)
29.
Select the plus symbol (+) to the left of the
Services folder.
30.
Select the plus symbol (+) to the left of the Internet
Messaging folder.
31.
Select Public Address Book.
32.
Browse to the location where you will find the
Address Book File (*.CSV).
33.
Highlight the .CSV file that you require. Click the
Open button.
34.
Click the Import Now button.Click the OK button
to import the Address Book.
35.
When prompted, enter admin (lower case) into the
User Name field and 1111 into the Password field
and select OK
36.
Click the OK button to import the Address Book.
Note: If an address book is already in existence, you
will be warned that the new import will overwrite the
existing address book.
37.
Select Map Existing Address Book.
38.
Map the address book by choosing the appropriate
Imported Heading for each label.
39.
Click the Apply button to implement any changes.
40.
When prompted, enter admin (lower case) into the
User Name field and 1111 into the Password field
and select OK.
Network Authentication Server (When
Network Authentication is active.)
Note: Complete details are available in the System
Administration Guide Chapter 16 in the Services
section for setting up Kerberos (Solaris), Kerberos
(Windows 2000), NDS (Novell 4,5), SMB (Windows
NT 4), and SMB (Windows 2000).
1.
Select the plus symbol (+) to the left of the
Services folder.
2.
Select the plus symbol (+) to the left of the
Authentication Server folder.
3.
Select General.
4.
Select Authentication Type.
5.
Fill in the appropriate data.
Note: For SMB Authentication: If the Primary
Domain Controller is located on a different subnet,
you must enter the IP Address or Host Name for
that Controller:
a) Select Optional Information within
Required Information.
b) Select IP Address or Host Name.
c) Fill in the appropriate data.
6.
Click the Apply button to implement any
changes.
7.
When prompted, enter admin (lower case) into
the User Name field and 1111 into the Password
field and select OK.
35
604P16000
