Xerox WorkCentre M118i Panduan Memulai - Halaman 4

Jelajahi secara online atau unduh pdf Panduan Memulai untuk Perangkat lunak Xerox WorkCentre M118i. Xerox WorkCentre M118i 25 halaman. Copy/print/fax/email
Juga untuk Xerox WorkCentre M118i: Panduan Pengguna (2 halaman), Manual Modul (2 halaman), Kartu Instalasi Cepat (2 halaman), Manual Perangkat Lunak (47 halaman), Panduan Pengaturan Cepat (5 halaman), Panduan Pengaturan Cepat (5 halaman), Manual (28 halaman), Manual Pemasangan Dudukan (4 halaman), Panduan Instalasi (2 halaman), Panduan Instalasi (2 halaman), Panduan Instalasi (2 halaman), Panduan Instalasi (2 halaman), Panduan Instalasi (2 halaman), Panduan Instalasi (1 halaman), Panduan Instalasi (1 halaman), Panduan Evaluator (12 halaman), Panduan Servis (12 halaman)
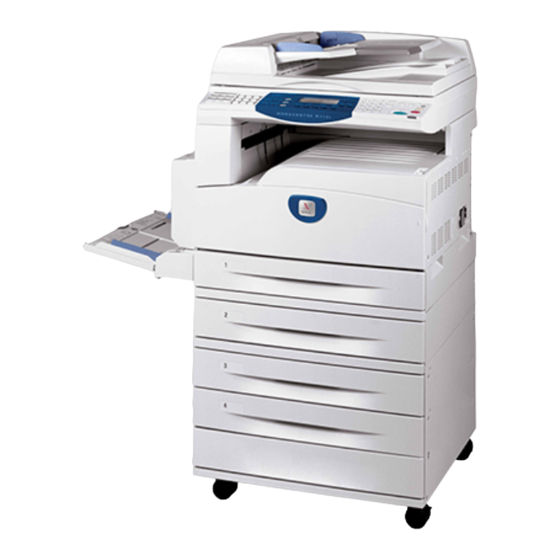
Xerox WorkCentre M118i Panduan Memulai
PaperPort SE
In the PaperPort installation Welcome screen, click Next. Then, specify
your name, and optionally that of your company in the following dialog box.
Click Next.
When prompted, it is recommended that you specify a Typical installation;
select Custom if you want to specify the installation directories for both
PaperPort software files and desktop (scanned) files.
Click Next and then Install to begin installation of all the PaperPort files.
Click Finish when the PaperPort SE installation is completed.
OmniPage SE
Accept the default installation directory for OmniPage SE, C:\Program
Files\Scansoft\OmniPageSE, or click Browse to select a different
location. Click OK to install OmniPage SE.
Image Retriever
A dialog box appears specifying that Image Retriever will be installed.
Note that after you restart your computer at the end of the installation,
Image Retriever will display the Image Retriever Settings dialog
enabling you to configure the program. Refer to "Finishing the Installation"
in this document and to the ImageRetriever.pdf document for more
information.
2