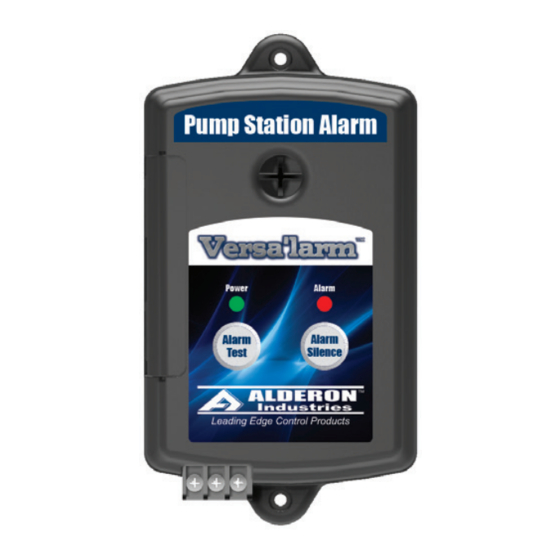
Alderon Industries Versa'larm VA01A Panduan Pengoperasian, Pemeliharaan, dan Pemasangan - Halaman 4
Jelajahi secara online atau unduh pdf Panduan Pengoperasian, Pemeliharaan, dan Pemasangan untuk Sistem Keamanan Alderon Industries Versa'larm VA01A. Alderon Industries Versa'larm VA01A 4 halaman. 1 zone alarm
Juga untuk Alderon Industries Versa'larm VA01A: Panduan Pengoperasian, Pemeliharaan, dan Pemasangan (4 halaman)

Versa'larm
1 Zone Alarm - Model VA01A
Operation, Maintenance and Installation Manual
Installation of the Versa'larm Continued
7. Connect any combination of switches (rated 9 VDC, 200 mA MINIMUM) (Fig. 12) such as a float switch,
pressure switch, WaterSpotter™, WaterSpotter™ Probe, etc. to Terminals C and 1 on the terminal block of the
Versa'larm. TERMINAL 2 IS NEVER USED. The alarm is activated by a closed switch.
ing the "signaling switch", refer to its installation instructions for proper installation.
Terminals C and 1
Unimax™ - Float Switch
BLACK = 1
WHITE = C
WaterSpotter™ & WaterSpotter™ Probe
BLACK = 1
RED = C
Combination of Sensors
BLACKS = 1
REDS / WHITES = C
8. Plug the power supply into a 120 VAC, 50/60 Hz standard wall
outlet. The green "Power" light should come on.
9. Test the system by pressing the "Test" switch or by activating the
"Signaling Device" (Fig. 13). The buzzer and the red alarm light will
be "on". Press the "Silence" switch, the buzzer will silence but the
alarm light will remain "on". Deactivate the "Signaling Device", the
alarm light will turn "off". Since the Versa'larm is equipped with
"Auto Reset", reactivating the "Signaling Device" for a new test
cycle will reactivate the buzzer and alarm light. Test product weekly
to ensure system integrity.
Alarm Systems
Control Panels
PO Box 827 Hawley, MN 56549 (218) 483-3034 Fax (218) 483-3036 www.alderonind.com
TM
(Fig. 12)
X
Unimax
Control
Float
Float Switches
Leak Detection Systems
Caution!
X
X
Unimax
Unimax
Control
Control
Float
Float
5 ft max
(Fig. 13)
OR
P/N: 101444
- When install-
X
Page 4 of 4
