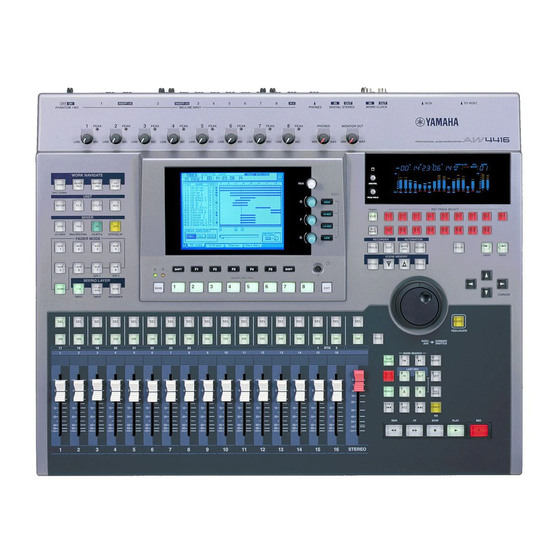
Yamaha AW4416 Suplemen Manual - Halaman 33
Jelajahi secara online atau unduh pdf Suplemen Manual untuk Alat Musik Yamaha AW4416. Yamaha AW4416 48 halaman. Installing an internal hard disk
Juga untuk Yamaha AW4416: Manual Suplemen (1 halaman), Tutorial (34 halaman), Manual Suplemen (20 halaman), Manual (3 halaman)

Remote A 1-8/Remote A 9-16/
Remote B 1-8/Remote B 9-16 pages
Remotely controlling external MIDI devices
Function
Use faders 1–16/[ON] keys 1–16 to
transmit the desired MIDI messages and
remotely control external MIDI devices.
Key operation
• [MIDI] key
[F1] (Remote A 1-8) key
– [F4] (Remote B 9-16) key (*1)
• Repeatedly press the [MIDI] key until
the screen shown at the right appears.
*1. From version 2.0, the tabs displayed
at the bottom of the MIDI screen
are divided into two groups. If the
tabs shown at right are not dis-
played when you press the [MIDI]
key, press the [SHIFT] key + [F1]
(CHANGE TAB) key to switch tabs.
Mouse operations
M button
MIDI button
8/Remote A 9-16/Remote B 1-8/Remote
B 9-16 tabs
Screen functions
A
MIDI messages
The MIDI messages assigned to the fader and
[ON] key of the channel selected by the [SEL] key
are displayed here in hexadecimal form.
Move the cursor to each numerical box, and turn
the [DATA/JOG] dial to edit the value of each byte
(two-digital hexadecimal value). The following val-
ues can be selected.
• 00–FF (hexadecimal)
............... This is the MIDI message that
will actually be transmitted.
• END ............... This indicates the end of the
MIDI message. When you oper-
ate the fader or [ON] key, the
MIDI message from the begin-
ning to immediately before END
will be transmitted.
• SW (only for [ON] key)
............... This indicates the on/off state of
the [ON] key. The byte whose
value is set to "SW" will be trans-
mitted as a value of 7F (hexadec-
imal) when the [ON] key status
changes to On, and as a value of
00 (hexadecimal) when the key
changes to Off.
1
6
Remote A 1-
Version 2.0 Manual Supplement
2
3
• FAD (only for fader)
............. This indicates the current position
of the fader. The byte whose value
is set to "FAD" will be transmitted
as a value of 00–7F (hexadecimal)
when you operate the fader.
Tip!
A MIDI message of up to 16 bytes (including "END")
can be registered for a fader/[ON] key.
• When assigning a MIDI message, you must be sure to
add "END" at the end. If "END" is not specified, the
MIDI message will not be transmitted.
• If a MIDI message is assigned to a fader but "FAD" is
not specified within the MIDI message, operating the
fader will not transmit the MIDI message.
• When assigning a MIDI message to an [ON] key, you
can specify "SW" as one of the bytes as necessary. in
this case, the corresponding MIDI messages will be
transmitted when the [ON] key is turned on and
when it is turned off.
• If you do not specify "SW," the assigned MIDI mes-
sage will be transmitted only when the [ON] key is
turned on.
• If you input a MIDI message manually, it is possible
to input an inappropriate or invalid message. When
assigning MIDI messages, we recommend that you
use the LEARN button ( 4 ) whenever possible. (For
details on using the LEARN button to assign a MIDI
message, refer to page 15.)
4
5
33
