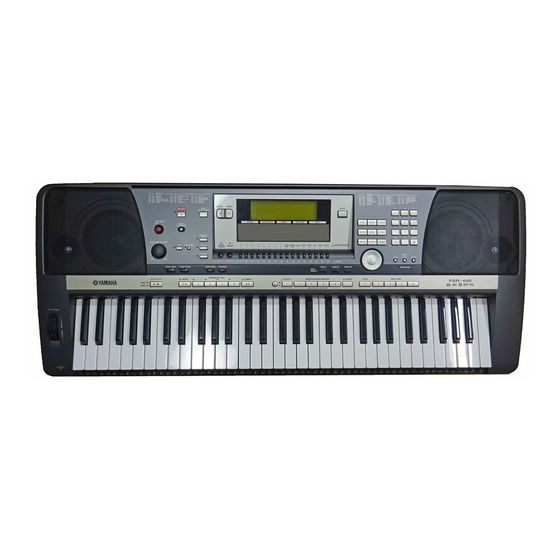
Yamaha PortaTone PSR-640 Prosedur Langkah Demi Langkah - Halaman 13
Jelajahi secara online atau unduh pdf Prosedur Langkah Demi Langkah untuk Alat Musik Yamaha PortaTone PSR-640. Yamaha PortaTone PSR-640 21 halaman.
Juga untuk Yamaha PortaTone PSR-640: Panduan Servis (18 halaman)

1) Insert a formatted floppy disk.
2) Press the [RECORD] button.
3) Turn the (DATA) knob or press the [-/NO] or [+/YES] buttons to choose
'Song'.
4) Press the [NEXT] button.
5) Turn the (DATA) knob or press the [-/NO] or [+/YES] buttons to choose
New Song'.
6) Press the [NEXT] button.
7) Turn the (DATA) knob or press the [-/NO] or [+/YES] buttons to choose
'Quick' recording.
8) Press the [NEXT] button.
9) Turn the (DATA) knob or press the [-/NO] or [+/YES] buttons to choose
'Melody+ACMP' .
10) Press the [NEXT] button.
11) Press the [VOICE R1] button to the right of the display.
12) Type in the number of the Voice or turn the (DATA) knob to choose the
desired Voice.
13) Press the [STYLE] button to the right of the display.
14) Type in the number of the Style or turn the (DATA) knob to choose the
desired Style.
15) Press the [EXIT] button.
16) Play the keyboard to start recording.
17) Press the [START/STOP] or [ENDING] button when finished recording.
The screen will display 'OK to save the data?'.
18) Press the [+/YES] button to save the recording.
VI. Quick Recording
