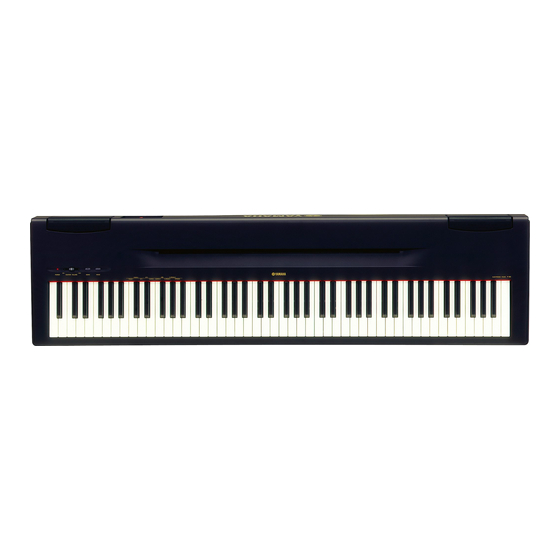
Yamaha P-60 Panduan Pemilik - Halaman 23
Jelajahi secara online atau unduh pdf Panduan Pemilik untuk Papan Ketik Elektronik Yamaha P-60. Yamaha P-60 40 halaman. Yamaha p-60: quick start
Juga untuk Yamaha P-60: Panduan Pengoperasian Cepat (2 halaman), Panduan Pemilik (40 halaman), Panduan Servis (42 halaman)

Connecting a Personal Computer
You can enjoy computer music data on the P-60 by connecting a computer to the MIDI connector.
NOTE
When the P-60 is used as a tone module, performance data with voices that are not found on the P-60 will not be played
correctly.
There are two methods by which to connect the P-60 to a personal computer:
1. Use a MIDI interface and the P-60's MIDI connectors.
2. Use the USB port on the computer and a USB interface (model UX16, UX96, or UX256).
NOTE
Before you connect the P-60 to a personal computer, first turn off the power to both the P-60 and the computer. After
you make the connections, turn on the power to the computer first, then turn on the power to the P-60.
1. Using a MIDI interface and the P-60's MIDI connectors
Connection
Use a MIDI interface to connect a computer to the P-60 using special MIDI cables.
MIDI
interface
Windows
2. Connecting the computer's USB port to the P-60 via a USB interface, such as the
UX16, UX96, or UX256
Connect the computer's USB port to the USB interface (such as the UX16, UX96, or UX256) using a USB cable. Install
the driver (that came with the USB interface) on the computer, and connect the USB interface to the P-60 using a serial
cable or MIDI cables.
For more information, refer to the instruction manual for the USB interface.
An example of connecting the USB interface to the P-60 using MIDI cables
USB cable
computer
P-60
IN
MIDI
IN
MIDI
IN
MIDI
OUT
USB interface
MIDI
OUT
MIDI
MIDI
OUT
MIDI
interface
IN
MIDI
OUT
IN
MIDI cables
MIN
MAX
POWER
MASTER VOLUME
DEMO
VOICE
PIANO 2
EP 2
PIANO 1
EP 1
HARPSI 1 HARPSI 2
P-60
Macintosh
MIDI
OUT
VIBE
C. ORGAN 2
C. ORGAN 1
STRINGS
PRESET SONG
Connecting a Personal Computer
P-60
ELECTRONIC PIANO
P-60
23
